|
By Graham K. Rogers

At the weekend I had my first try with the new extensions feature for Photos when Tonality was updated. I enjoyed using this so much that I also bought MacPhun's Intensify and wondered why I had not already bought this interesting application.
I am fully expecting other applications to arrive with the extensions capability, which will mean they can be used from within Photos, rather than having to export an image first. Jason Snell sort of let the cat out of the bag at the weekend when he mentioned he had been running a beta version of Pixelmator.
This is rather interesting as Pixelmator already has an iOS app, and the two versions sync images, while the iOS version has an equivalent to an extension in the editing panel. When this appears for Photos on OS X, I envisage a full editing suite available inside Photos using the 3rd-party extension.
These applications (Pixelmator, Intensify, Tonality) have existed for a while and have been producing great output for users since they were released: when Tonality arrived, I also bought the Pro version as that has a plug-in for Aperture (as well as Adobe applications).
With an update to Intensify released earlier today, to deal with a bug found by some users when working in Photos, I had a look at the Mac App Store for any other apps using extensions and the $4.99 BeFunky Express seemed worth a closer look.
BeFunky is an application - just released - that appears to have been purpose-built to take advantage of the extensions feature for Photos. Jason did mention this but I was focussing more on his comments on the Macphun applications when I first looked at the text.

The download of this application was quick as it is quite small at 4.4 MB. I duplicated an image as there was one I wanted to work on that had already been edited in Intensify. I wanted to keep that. With the duplicate original open in the Edit panel, I pressed the More icon and added BeFunky Express, via the panel in System Preferences that appeared.
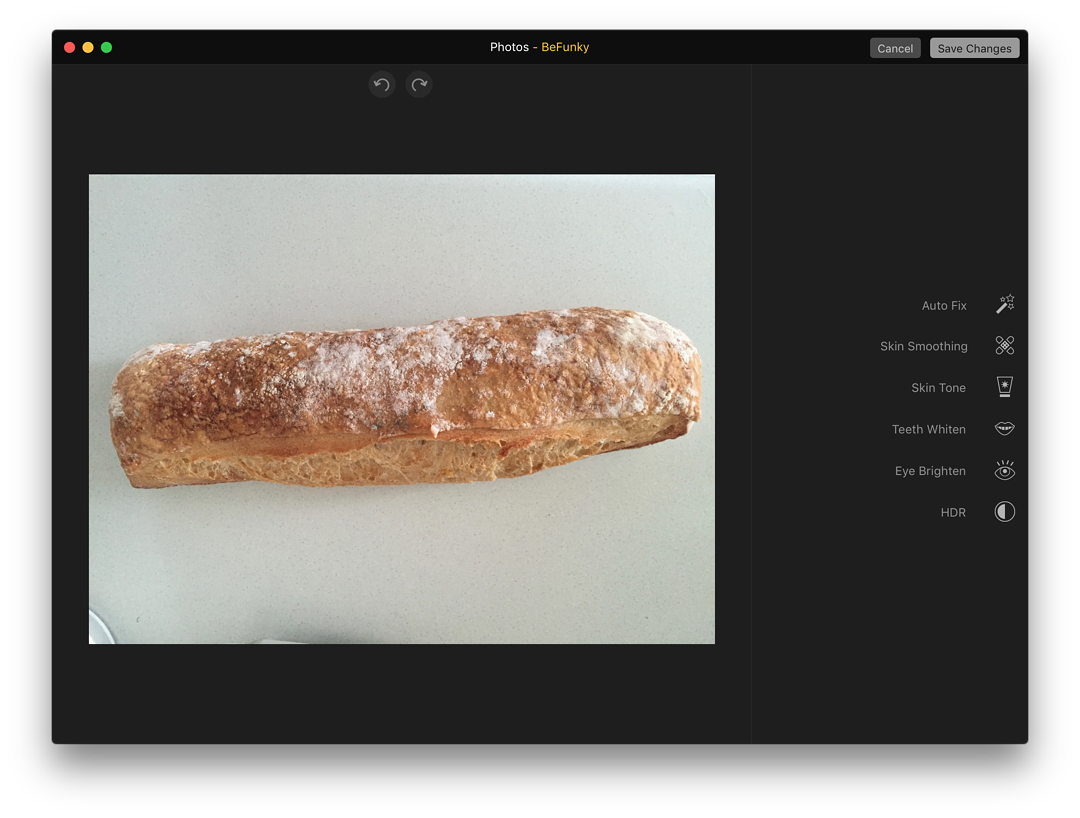
The image opened in a panel similar to the Photos window with 6 options: Auto Fix, Skin Smoothing, Skin Tone, Teeth Whiten, Eye Brighten and HDR. These tools strongly suggest editing of faces, but I was working on something simpler. I tend to avoid Auto Fix (pride I suppose), but had a quick look.
- Auto Fix gave me a slider from 1-100, marked Intensify. The pointer was at 50 and it was simple to move the slider back and forth. An "Apply" button was available for accepting any changes.
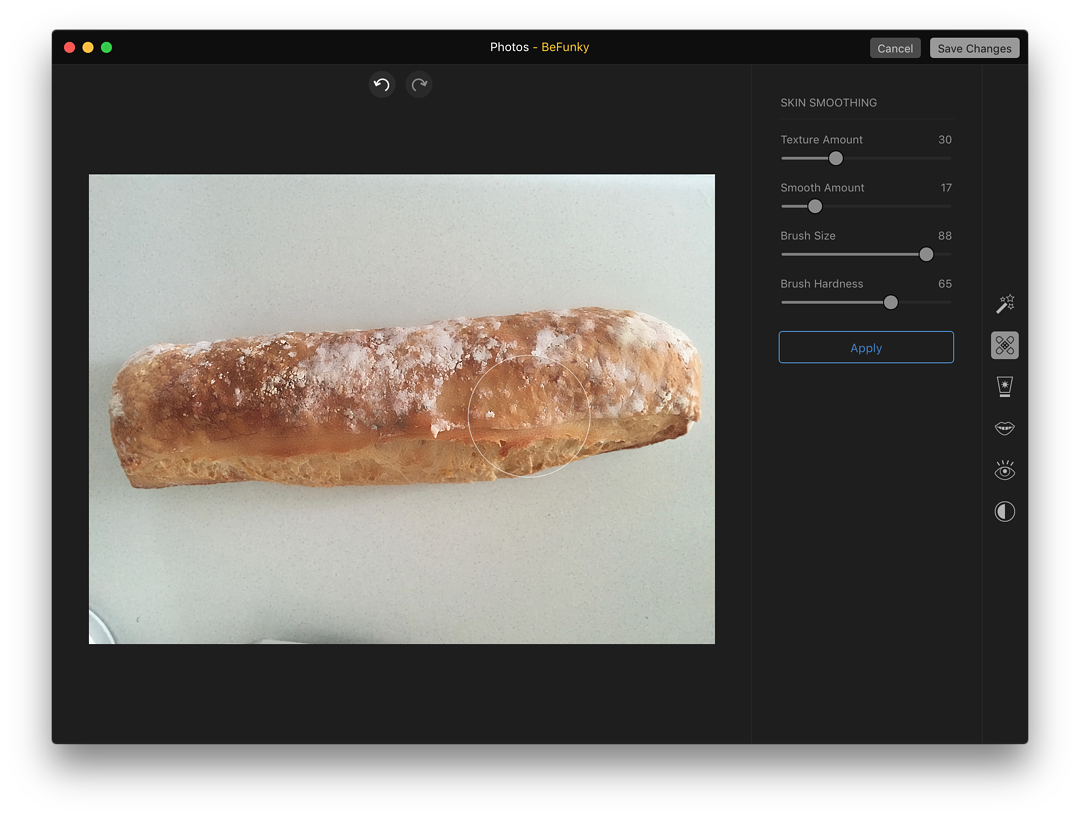
- Skin Smoothing has 4 sliders to set the intensity of the brush being used: Texture Amount, Smooth Amount, Brush Size and Brush hardness. When I had adjusted these, sliding the brush (a circle) over the image, was quite effective at changing the texture: as I was using an image of a crusty Italian loaf, this showed changes quite clearly. Back and forward buttons are available at the top of the screen. As with Auto Fix, when the adjustments were made there was an "Apply" button.
- Skin Tone has 3-sliders set up in a similar way to Skin Smoothing. These are Tone Amount, Brush Size and Brush Hardness. At the lower end of the Tone Amount slider the brush would lighten the image, while at the upper end of the scale, the image would be darkened: similar to Dodge and Burn.
- Teeth White also had three sliders: Intensity, Brush Size and Brush Hardness. Even on the first test image of the bread, this was effective as the flour dusted over the loaf was bleached (more or less, depending on the Intensity setting) while the other colours were unchanged.
- Eye Brighten had three identical sliders: Intensity, Brush Size and Brush Hardness. There was a brightening of certain parts of this first image, but it was an unfair test, so I tried later with a second image: a face.
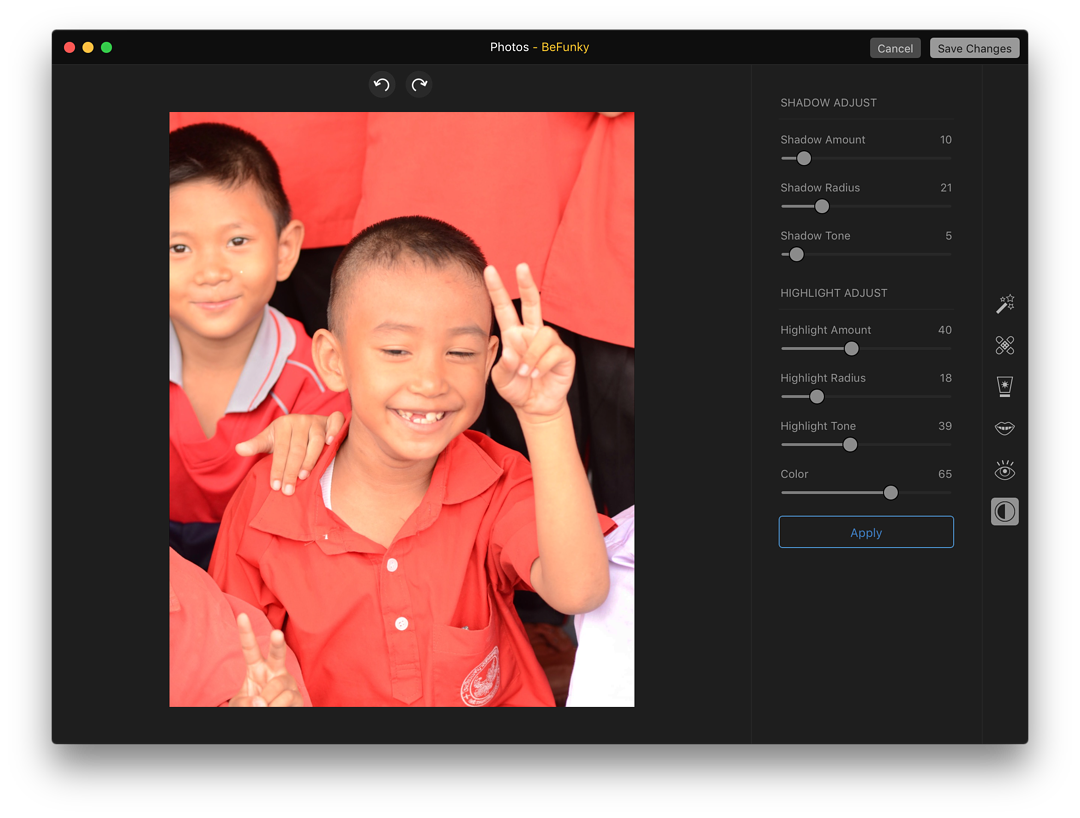
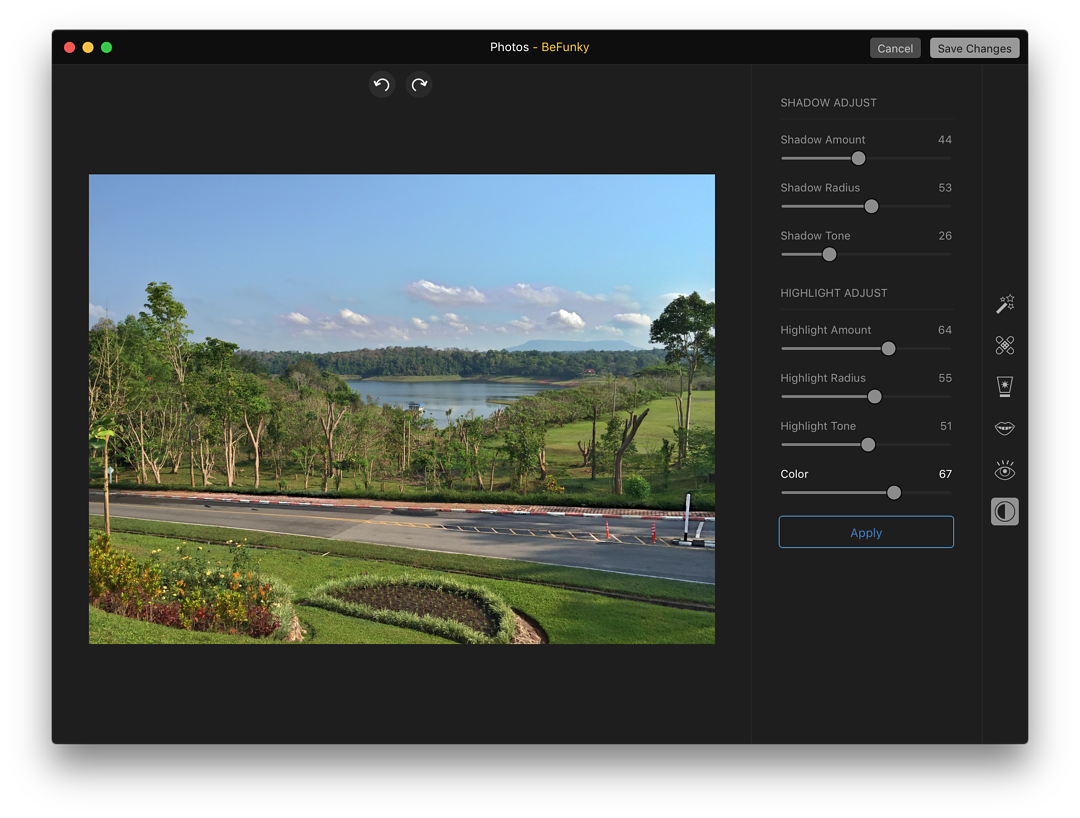
- HDR was in two main sections: Shadow Adjust and Highlight Adjust. The first section had 3 sliders: Shadow Amount, Shadow Radius and Shadow Tone. The Highlights section had sliders for Highlight Amount, Highlight Radius, Highight Tone and Color. These sliders provided a quick way to make several useful adjustments to the quality of the image.
If I left any panel without using the Apply button, the app warned me that all changes would be lost.
I tried each of the tools with a face and all worked in the same way as they had with the first image I tried, with teeth whitening being particularly effective. Adjusting skin tones did need some care, particularly with Tone. The eyes in the image I tried initially were too small to benefit from the Eye Brighten tool, but the HDR tool did a good job on the over-bright image I had.
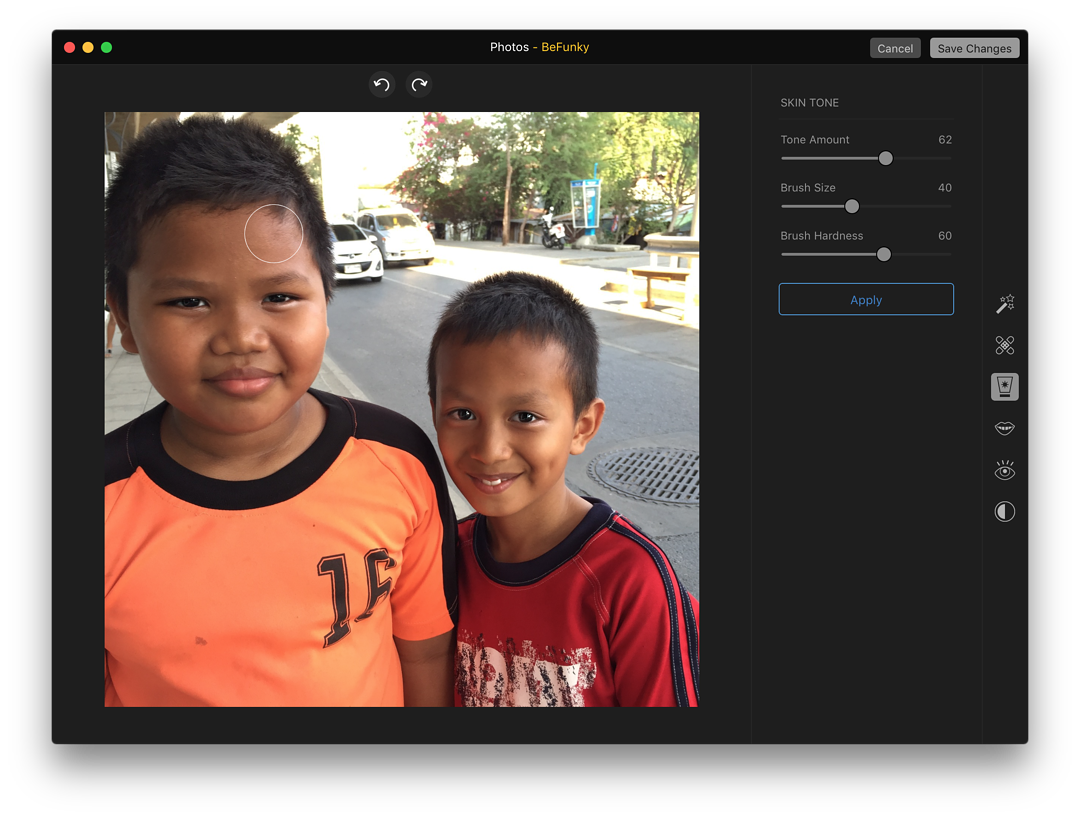
With the Eye Brighten tool, I used a photograph of a couple of kids I spotted in the street last year and was impressed with the way the diamond brightness in the eyes of one of them was brought out quite easily. This image also benefited from the use of the HDR, Teeth Whiten and the Skin Tone tools. The changes were subtle rather than dramatic, but that makes this all the more useful.
With a landscape image, the Auto Fix and Skin Tone tools were hardly of any use (of course), although Teeth whitening worked well on white clouds and (most effective) on white roadside lines. HDR was also effective in making quick adjustments to the image tones, although I had to remind myself of the saying, "Less is more" - easy to overdo the effects.
As a basic editing application, this offers an alternative to the tools already available in Photos. Although these are improving, it is nice sometimes to have supplementary tools just to add that extra to some images.
Despite this quite basic approach, BeFunky Express has quite a lot going for it. It is not at all sophisticated, but sometimes that is better for some users: rather than overdoing the editing, a few quick adjustments may be all that is needed. As one of the first applications designed for use as an extension to Photos this makes it an interesting pathfinder.
Graham K. Rogers teaches at the Faculty of Engineering, Mahidol University in Thailand. He wrote in the Bangkok Post, Database supplement on IT subjects. For the last seven years of Database he wrote a column on Apple and Macs. He is now continuing that in the Bangkok Post supplement, Life.
|
|