Adobe Photoshop Touch: Image Editing on the iPad (Amended)
AMITIAE - Monday 27 February 2012
|
Adobe Photoshop Touch: Image Editing on the iPad (Amended) |
|
|
|
By Graham K. Rogers
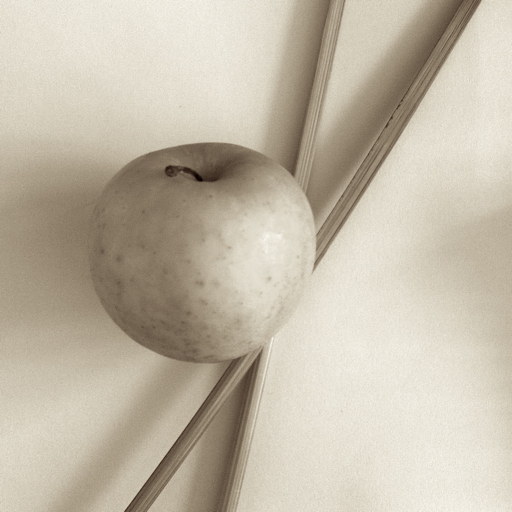
Many of the camera apps are more useful for changing the basic image with filters, like Halftone, Art Camera and the excellent Pixlromatic. Some of the best editing apps that I have on the iPhone only make it over to the larger device in a non-optimised form, so display in the x1 or x2 mini format: not the best way to edit photographs.
Reading through one or two of the early reviews (and I am not going to say which), the enthusiasm of the writers came through. This was a positive experience. I stopped reading and made the purchase in the evening. It had not been available earlier in the day where I am.

Photoshop Touch - Initial CommentsThe first thing was a request to "send anonymous, non-personalized data back" and I allowed that. Once the request panel had cleared there were two options: Begin a Tutorial, or Begin a Project. I took a gamble and missed the tutorials for the time being, despite reading (I did read that far) that these were more than useful.Starting the project brings up a working screen, for want of a better term, but first I needed to deal with a location request panel. Five sources were listed for photographs: Local Photos, Creative Cloud, Camera, Google and Facebook. As each of the lists was highlighted, so more precise sources were shown in the main panel. With Local Photos for example 5 folders were shown, that linked to different albums or features in the Photos section. When I first tried out the app what was missing was access to the Photo Stream folder. I find this useful as this synchronises images taken on my iPhone, or placed in the relevant folder in Aperture on the Mac. I had to go into the Photo Stream album and save any photo I wanted into the Camera Roll so that it was then available. When I went back to Photoshop Touch a couple of days later, the PhotoStream folder was accessible to me. Perhaps restarting the device in the interim had reset the OS or the folder listings within the app. Creative Cloud is an Adobe cloud service that allows users to access work anywhere, as long as there is a working internet connection. As I was new to this, I needed to register: create an Adobe ID. Along with the details required, we need to acknowledge that US laws apply when using the site.
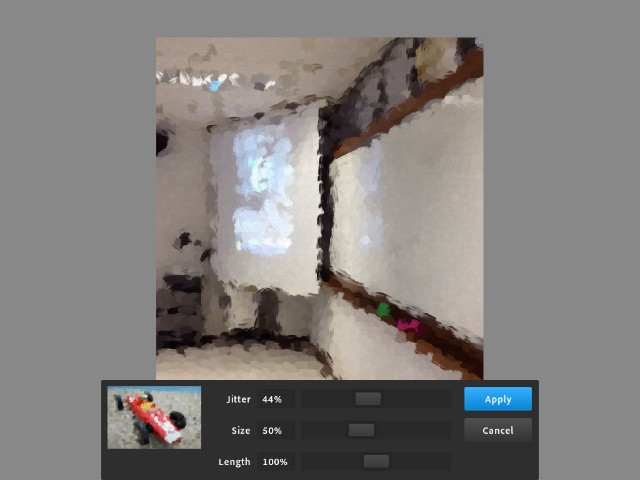
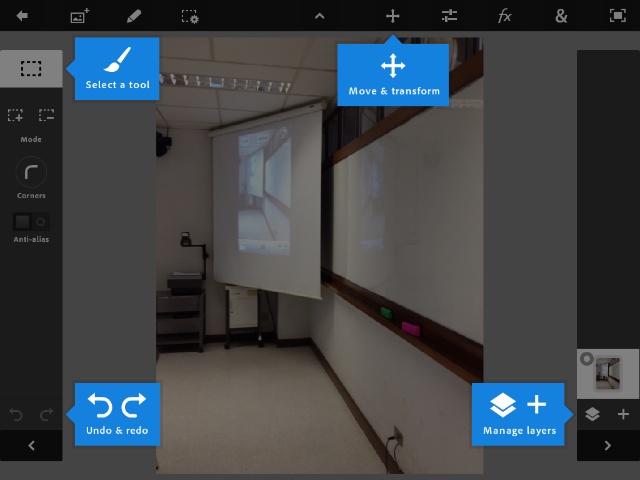
Working with the AppSelection of a photograph brings up a number of tools to the left and right of the panel and at the top.At the top these include, back (to the Intro panel), access to photos, Editing, area selector, Adjustments (with 12 options, such as temperature, levels and curves), Effects in 4 groups (Basic, Stylize, Artistic and Photo) giving 28 separate ways to change an image. Selection of any of these brought up a panel with sliders allowing some fairly accurate adjustment. I did find, however, that when using the sliders, there was an amount of delay on occasion: sometimes the slider would not move immediately; or the effect was not instantly applied. It might only take a couple of seconds but delay was noticeable. When the adjustments were made, there were two buttons: Apply and Clear. These buttons were of a good size, as were the sliders, so there was little chance of inaccuracy when using these. To the left were a number of other tools that are essential when users are working on images, such as the Lasso tool, Magic Wand, Paint, Clone Stamp and Eraser. There are others, but the idea conveyed is of a fairly well-equipped app for editing at a high level. When each of the tools is selected, the panel changes to show the fine-tuning options for the tool. Touching the tool icon returns the display to the full set. To the right of this panel were tools to manage layers. Opacity, blend and merge (for example) were accessed using one icon, while another allowed options when adding a layer. This tool was so clear in the way it addressed the multiple ways in which a layer might be added, that this was a real benefit to users, especially if there experience was limited in such image manipulation.
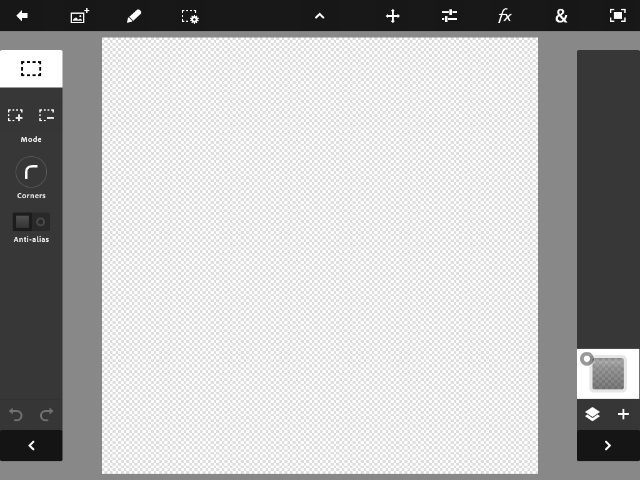
More ToolsOnce editing was complete, I pressed the Back icon as that was the only obvious non-editing tool. I was asked to save the image and it then appeared in another screen with thumbnails for Tutorials and Intro.At the bottom of the screen there is a Photo icon and a + icon. The Photo icon returns to that working screen with the image sources listed, while the + icon reveals a blank project panel, with default settings of 1024 x 768. Pressing either of the resolution figures opens a number pad. When I entered figures of 2400 x 2400 the app gave me a 1600 x 1600 canvas to work on. Again, the complete range of tools is available to left, right and above.
When I tried on the Mac, Creative Cloud was not immediately obvious on the Adobe site. When I found it (it told me there is an annual fee of just under $50) and tried to sign in, I was required to enter old and new passwords. I decided to hold off on that. Adobe often manages to make things more complex than needed and this has steered me away from their services in the past. It is not clear if those with the iPad app have unlimited access or if this comes as part of the app purchase.
CommentAdobe have managed to produce a rather sophisticated image editing application with Photoshop Touch. There are one or two slight niggles, such as the infrequent slowdowns when applying effects and my difficulty in accessing the cloud gallery using Safari on the Mac. Overall, however, this is really what an image editing application for the iPad needed to be and the price ($9.99) is small beer for the tools users have at their disposal.One Tweet I read suggested that "Apple is today very pleased with Adobe." I would not disagree with that.
Graham K. Rogers teaches at the Faculty of Engineering, Mahidol University in Thailand. He wrote in the Bangkok Post, Database supplement on IT subjects. For the last seven years of Database he wrote a column on Apple and Macs. |
|

For further information, e-mail to

|

|
