Although iMovie was totally rewritten in mid-2007, not everyone was happy with that version. iMovie 09 now (actually version 8) includes many improvements that had been requested.
Among the changes are several effects that can be added to clips, an inspector that helps with editing (changes can be pasted to all clips). Extraction of sound clips has become easier. Added to the application is a method to control camera shake.
As with other parts of iLife I use, iMovie opens with a video tutorial to explain the basic steps and get a new user started. This can be dismissed, but I found this one particularly useful as I am not a frequent user of movie applications.
Sources for iMovie may be a camera with clips in memory, imported clips, or other media. Attaching a movie camera will open iMovie, or it may be started from the Desktop.
The main panel which is always displayed has two major sections: the project at the top of the screen and the media panels below; these can be swapped round using a switch button between the panes. A number of other control buttons are displayed between the two panels. To the far left is a camera icon that controls import of clips from camera. Alongside this and the switch icon, is a slider that adjusts the size of clips: both imported and project selections.
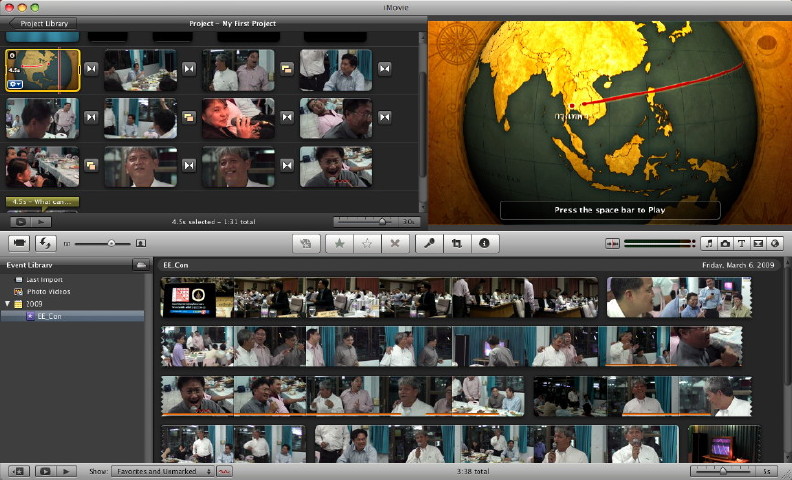
The project screen is split into clips and movie panels. Movie segments selected from the imported clips (below) are assembled in the clips panel (above) and the finished product is viewed in the movie panel.
Attaching a camera (or a memory card) brings up the import panel displaying all the clips available. With the automatic setting, all clips are imported. With the Manual setting, selected clips only are brought in. All are selected by default, but can be deselected by unchecking a box beneath each clip. The "Import All" button changes to "Import Checked". With the memory card attached, any clip can be highlighted and the clip can be played full size in the main panel.

When importing, a confirm panel drops down to give options on storage locations. A user is also asked to confirm whether to add to a current project or to create a new project from the clips. A check-box is available to analyse the clips after import for stabilisation and warned that this would take more time. I did not use this as I had borrowed the camera and the owner wanted it back. When the import was completed, a panel appeared informing me how long the import of 5 clips had taken.
As well as the camera, card or other media imports, it is also possible to import video directly using the installed iSight camera using the "Camera Import" button. A selector in the panel that is opened allows imports from any camera attached and iSight is part of most Macs.
Clips from some older cameras may not be imported effectively and may need converting before they work properly in iMovie. Those that do work are DV, AIC, Motion-JPEG, Photo-JPEG, plus supported profiles of MPEG-4 or H.264 video along with supported audio compression formats. I found this information in the Apple forums.
When an imported clip is selected by clicking on it with the cursor, iMovie automatically highlights a 4-second section with a yellow border. This can be made shorter or longer. Dragging the cursor along the clip, displays the moving images in the upper panel to make choices easier. Sounds is also played but this is somewhat jerky.
When a clip is highlighted, four buttons in the centre which are normally greyed out, become active. These are for adding the selection to the movie project, marking the clip (perhaps for later consideration), unmarking a clip and rejecting a clip which deletes it from the import window. This may be undone via the Edit menu (or Command + Z).
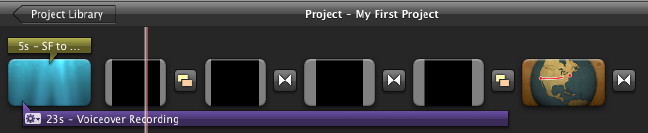
To the right of the four clips buttons is a microphone icon that allows a user to add a voice-over to one or more clips. A panel appears for settings to be made and the recording starts a few seconds after a clip is clicked. There is a short countdown before recording starts. The recording ends when a clip is clicked again. When complete, a purple "Voiceover Recording" time-line appears below the clips. indicating the time of the clip and showing an icon for adjustments: adjusting the length as well as changing clip or audio using an Inspector.
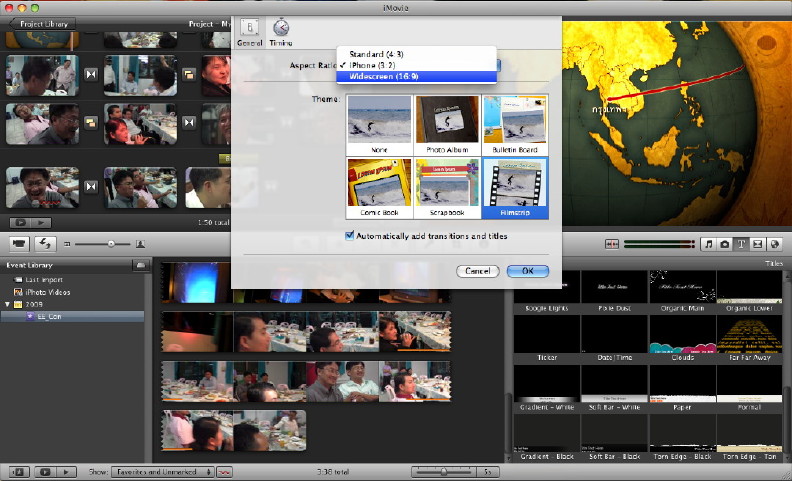
Beside the microphone icon is an icon that allows us to adjust the clip itself by rotating or cropping. Fitting is also available here which makes sure the entire clip fills the frame for a better finished product. Alongside the Crop icon is the icon for the Inspector which I will examine next time along with the additional media that iMovie can access.
See also: iMovie '09 (2): Editing and Media Tools
|

