eXtensions - Wednesday 17 May 2023
By Graham K. Rogers
The developers of Pixelmator have just released a version of Photomator for the Mac. I have been using this (née Pixelmator Photo) since it first appeared on the iPad and it is usually my go-to photo editing application for a host of reasons. Now that it is on the Mac, with an interface and tools I already have experience of, the image editing experience is much enhanced. Photomator is highly recommended.
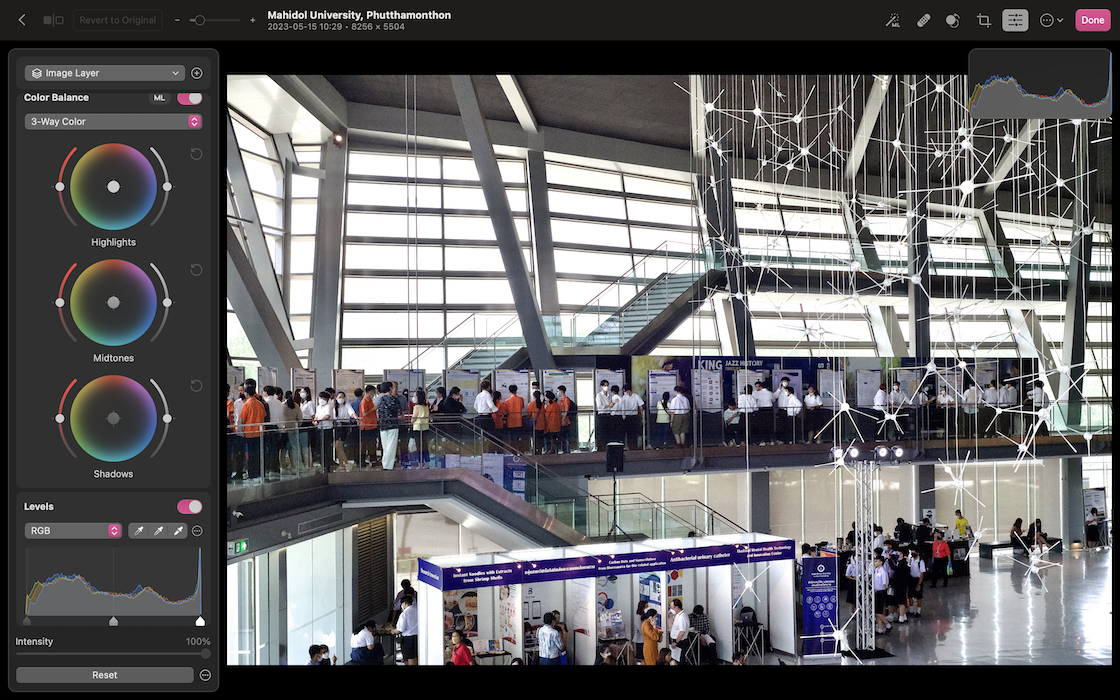
I had always been impressed with Photomator (née Pixelmator Photo) because of the range of tools and its similarity in some ways to Apple's Aperture. Although this is sometimes likened to Adobe Lightroom, remember Aperture came first. Although I did try Lightroom early on, I stuck with Aperture. The range of editing tools and other features (metadata, light table, stacks) available made this really strong as workflow software. It is sorely missed and I still get cross about Apple's decision here. When Pixelmator Photo first appeared in 2019 on the iPad it was clear how much work had gone into its development and all the right tools were available. There have been some under the hood developments in the interim. The Repair brush is one of the best available to me and this also works just as I want on the Mac.
I knew that a Mac version of Photomator was in development. The iPad version had been changed in recent months and moved to subscriptions for new users. As the Mac version was all new, and there were several mentions of monthly (and annual) pricing, as well as other rumors, I was unsure which pricing path I would take. One thing, however: I was sure that I would be downloading this. In the App Store it appears as a free download. It is the complete app, but there are limits on use (not features): try before you buy (or subscribe). A Get button changed to Install (green) when I pressed it. The download was 714.4 MB.
One of the main reasons I had stuck with Aperture was the ability to synchronize across devices with iCloud. Photos has that. Photomator on the iPad allows me access to the Photos library, so that too has indirect iCloud synchronisation: a Photomator edit on the iPad Pro appears within seconds on the Mac. Expanding this by using the application on the Mac is a no-brainer, so I did not hesitate to download the new release.
Photos was a poor substitute for Aperture (stacks alone saved much screen space and time). Photomator goes part of the way and more features are promised. To compensate for the lack of features in Photos (Perspective and Keynote only arrived in recent months on the Mac), I made use of other editing applications, including Photomator on the iPad, gradually moving almost exclusively to this application. It is now available on the iPhone, but the screen size limits its effectiveness and it needs navigating in a different way. Other than that, the editing tools work like the iPad version. The Mac version is close to the iPad app in the way it works.
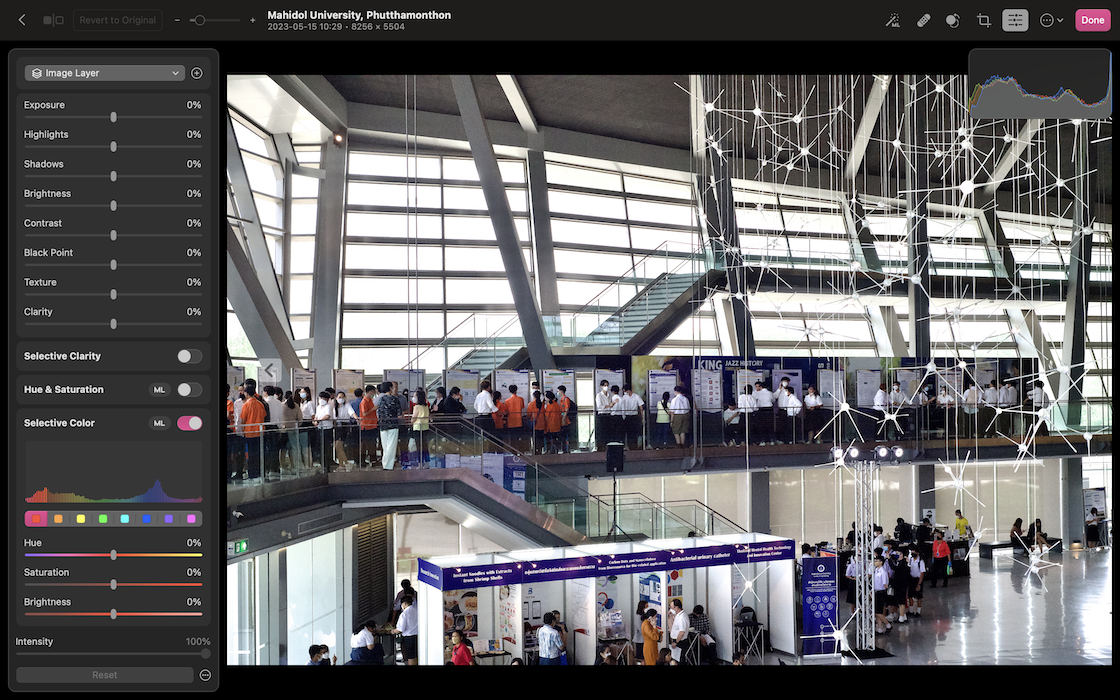
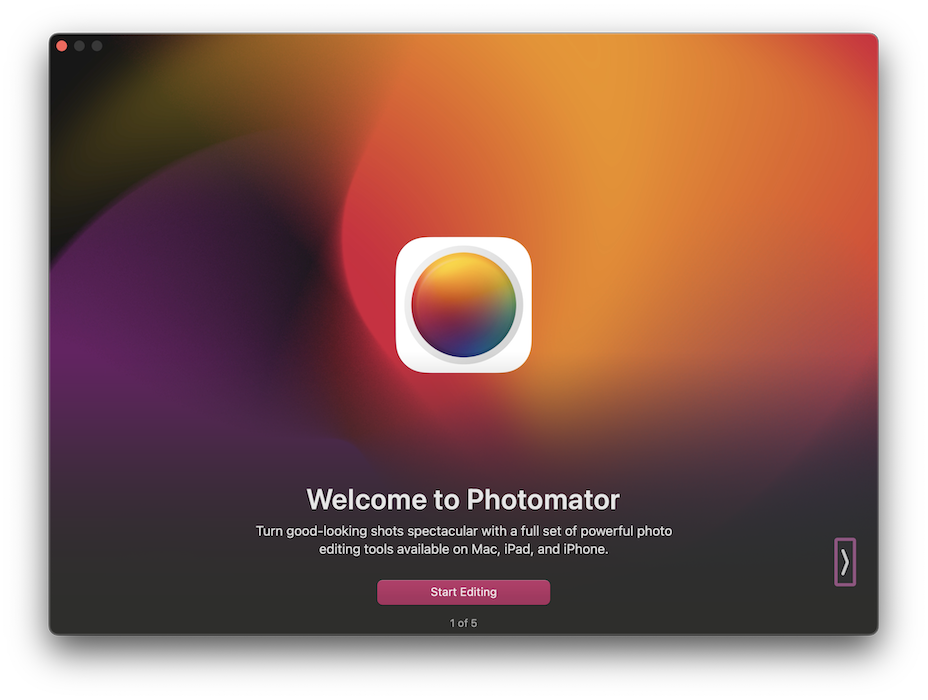
There was a slight delay after running through the introductory screens as when I pressed Start Editing, nothing happened. It was only when I closed the screen that I saw a small panel that wanted me to grant permission for the application to access Photos. Once I pressed that, all was well. The images in my Photos library were displayed along with all the folders and albums I use for organizing. I had a look at a recent photo that I had not yet edited and ran through the tools. As this is almost identical to the iPad version, there was little to learn, which is a real advantage. I also found a couple of things that were new (or I had missed on the iPad) including changing the presets at the bottom of the display to mini-thumbnails. A quick search of the menus allowed me to hide that completely, something I had not been able to find on the iPad. I found that also on the iPad after a quick look despite not finding it earlier.
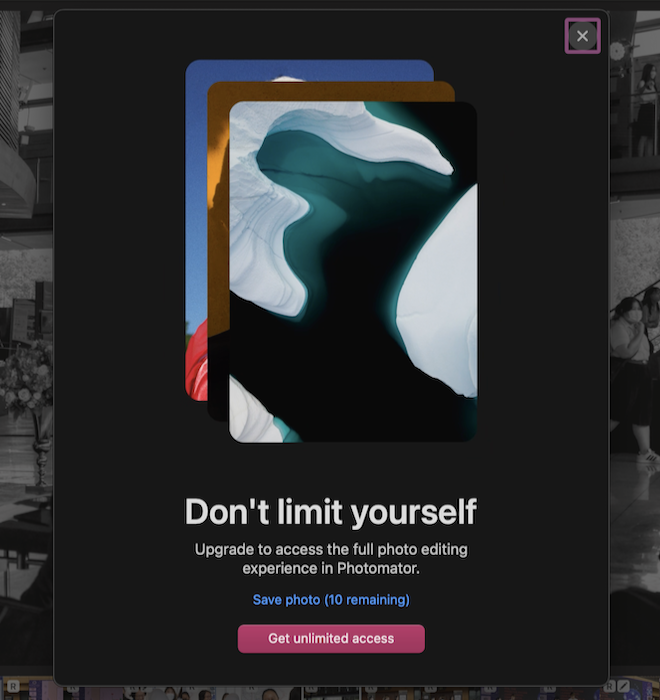
After saving the image, I was told I had 10 more edits left. A panel offered me a one-time price of 2,490 baht (reduced from 3,990 Baht). Other options were a monthly 179.00 baht or annual (999.00). These prices are $4.99 and $29.99 respectively. I seriously toyed with the idea of the annual fee, but decided on the one-time purchase, also giving me a licence for iPad and iPhone. I had already bought these (as soon as Pixelmator Photo appeared in 2019), but do not feel as if I have lost anything. As with the iPad Pro version when an edit is finished the user presses the Done button and a panel appears asking for permission to save the modified image to Photos.
|

|
I gave the app a quick try initially on a couple of unedited images from an event I went to earlier in the week. I wanted to make an instant comparison with how it worked on the iPad Pro. I had already pulled out 50 or so shots and I will probably delete most of the rest. Although the library and albums were displayed on the left, the tools were initially on the right. I am left-handed. I had been able to move these controls on the iPad version, making it even more Aperture-like, but it took me a while to find this on the new Mac version. It is in the View menu and the panel is called the Inspector (choices - Left or Right).
Photomator has so much of the look and feel of the iPad version that moving between the two, apart from the small settings changes outlined above, was frictionless. However, being a Mac version, some of the actions are also available in menus. Some of these (e.g Copy and Paste adjustments - also in Apple Photos) are found in a menu on the iPad that is accessed via an icon: a circle with 3 dots.
The menus make this far simpler, and being a Mac, there are key commands: a real boon to productivity when used. Most users are familiar with Copy, Paste, Save, Save As and Undo commands, but power users may access several more for repeated tasks. For some applications like Adobe Photoshop or Final Cut Pro, not only are there useful key commands, but special keyboards are also available. If a menu item does not have a key command, this can usually be added using Keyboard Shortcuts in System Settings. I added a key command for the Image menu item, Flip Horizontal (specifying that the setting should only apply to Photomator).
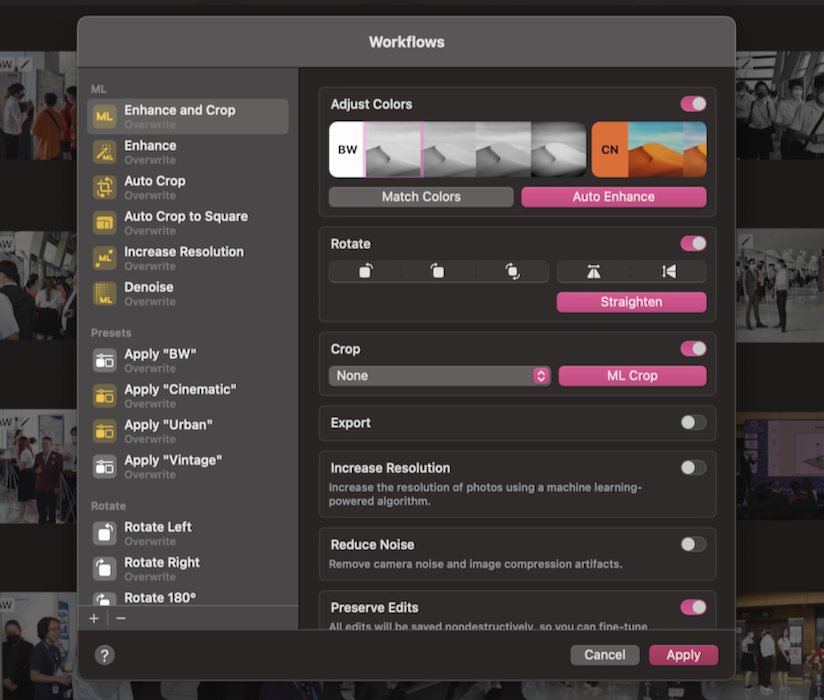
Within the menu system there is also a Workflow submenu. This has four default actions, but I added an additional one (Apply BW) from a More Workflows item. This reveals a panel with a good selection of workflow actions grouped in four sections: ML (auto actions), Presets, Rotate, Export. A specific action can be "pinned" which adds this to the Workflow menu.
I did most of my examination of this new release on the 13" MacBook Pro but once I had a good level of familiarity I moved the app to the larger screen of a 27" Benq monitor I use for online meetings. The increased real estate made the Photomator much more impressive and easier to work with. Remember: until yesterday I had only seen this app on the screen of the 11" iPad Pro. As much as it was easy to use on that screen, the new potential allows far better access to the tools, the images and improves the ease of editing.
I have been a bit of a fan of Photomator since it first arrived as it has made my work much easier, although switching between Photos on the Mac to Photomator on the iPad as I edited took time. Being able to work with both (importing and organising with Photos) on the same platform will help considerably. Users should choose their own payment method. I am not a fan of subscriptions for software and avoid this when I can. That is a personal choice. I was quite willing to shell out the 2,490 baht (even if the $69 actually converts to 2300 baht) for a one-time purchase.
For those familiar with the app on the iPad (or iPhone) the Mac version makes a lot of sense. Particularly iPad to Mac the interface is almost identical (plus menus) so learning this new version takes no time. For users unfamiliar with Photomator, this is a good way to improve image editing on the Mac. With the free download from the App Store new users can try before they buy (or subscribe). This fits well into the way I work on images without the expense that some applications demand.
Graham K. Rogers teaches at the Faculty of Engineering, Mahidol University in Thailand. He wrote in the Bangkok Post, Database supplement on IT subjects. For the last seven years of Database he wrote a column on Apple and Macs. After 3 years writing a column in the Life supplement, he is now no longer associated with the Bangkok Post. He can be followed on Twitter (@extensions_th)

For further information, e-mail to
Back to
eXtensions
Back to
Home Page