eXtensions - Tuesday 3 January 2023
By Graham K. Rogers
![]()
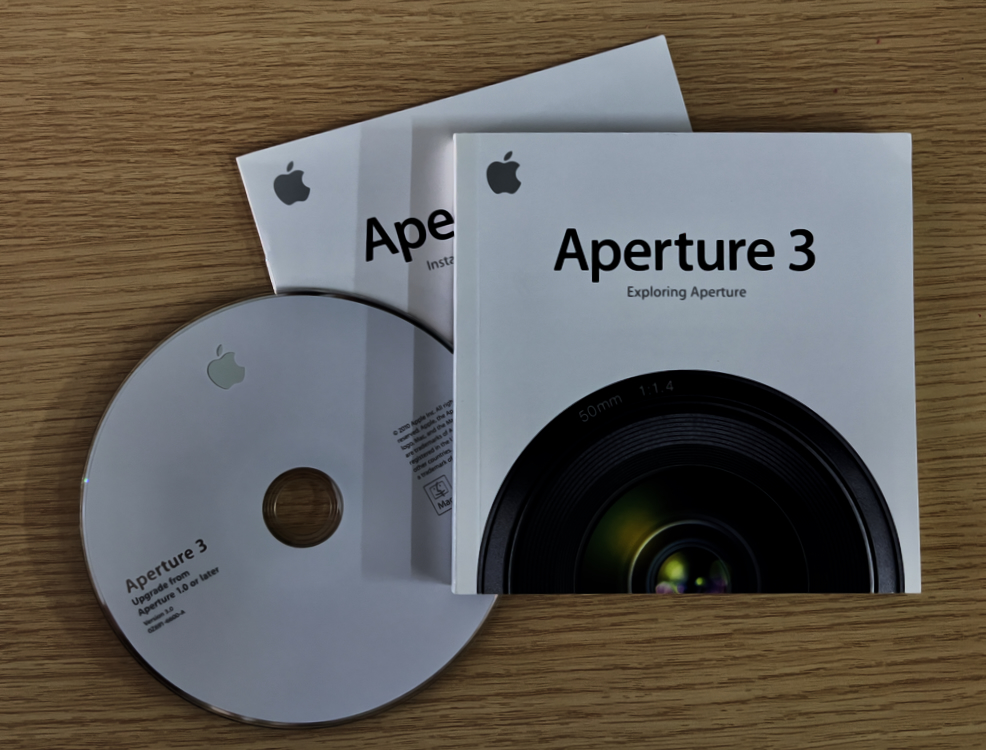
Apple introduced its photos workflow and editing application, Aperture, in 2005. It was discontinued 10 years later. Users had to move on and find suitable software. Some moved to Adobe Lightroom, others migrated to Apple Photos for its organisation and iCloud synchronization. With my Aperture libraries archived on external disks, it was time to import to Photos so that they were more easily accessible. I miss Aperture.
Not long after Jen Siow's demonstration, I tried Aperture on a 17" MacBook Pro that was on loan from the PR company Apple used here at the time. I bought my own copy soon after. My articles for the Database section of the Bangkok Post are online:
Not too long after Aperture appeared, in January 2006 Adobe released its (Mac only then) Lightroom in beta form. I installed an early version of this for a brief review but preferred Aperture, particularly when it became possible to synchronize using iCloud. Most of my work with images used this software until it was discontinued in 2015. Several former users of Aperture are still smarting from this. Many feel that Apple should have made the effort to rewrite this Pro level workflow software - or produce an alternative - not simply to give up and hand the keys to Adobe. I prefer not to use Adobe products for a number of reasons.
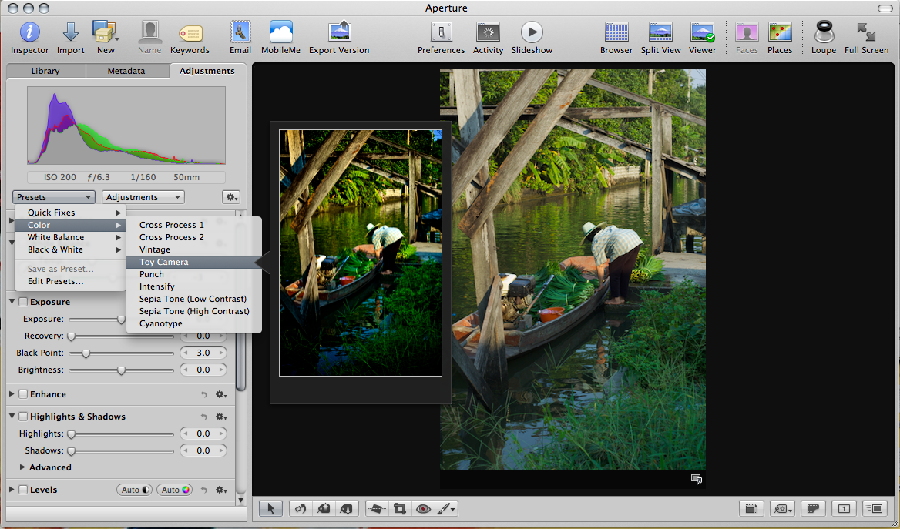
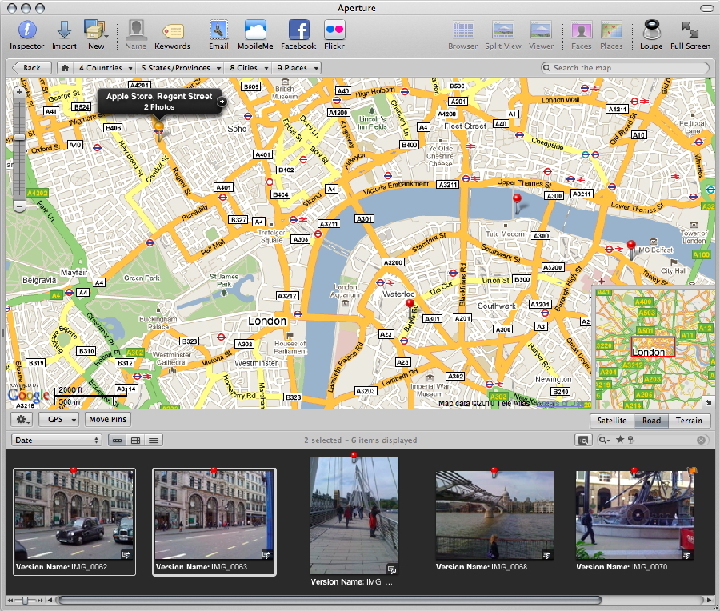
Over the time I used Aperture I created several different libraries. There was occasionally a fault with importing. If an import failed for any reason, but the metadata had been recognized, any images affected would not be imported. Creating a new library was an easy option and it was possible to switch between libraries on the fly. This is not possible with Apple Photos. Selecting another library in Photos means restarting the app with the Option key pressed. It was just one of the things Aperture made easy, along with editing, full metadata, adding locations to photos, presets, brushes, a light table, loupe and many more features.
When it was no longer possible to use Aperture I switched to Photos: still a rather weak and watery application. I use it for organizing photos, some basic editing and synchronization with iCloud. This was released with Yosemite (10.10.3) in 2015. It was only with the release of Ventura that Perspective and Keystone tools were added to Straighten. That had taken 6 years; and the sliders are too small for easy or accurate editing. When Aperture no longer worked, I moved the libraries to external disks and kept them safe.
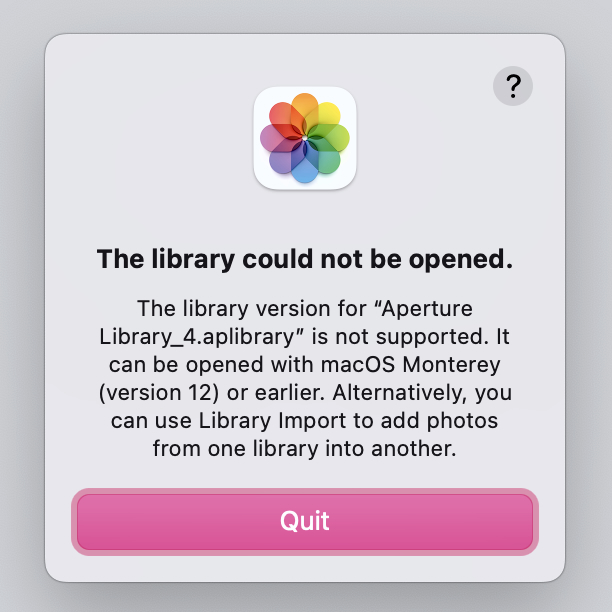
As the Aperture libraries are not compatible with Photos it is not possible simply to drop the library on to the Photos icon. The software throws up a red flag. I was informed I would need Monterey: an older version of macOS. I have a spare Mac mini but the cost in time of setting it all up meant it was not something I wanted to do. The warning panel also offered the suggestion of using Import to bring a library into Photos. With a current library of more than 20,000 photos, all synchronized with iCloud, I decided to create a new library on one of the external disks and access those images if and when needed.
|
|
I used an external library with my recently-replaced 2014 Mac mini. This had a 128GB disk so I kept documents and the Photos library on an external disk. Also, when I accessed Apple Help online for a Photos synchronization problem on my MacBook Pro, one of the steps (in a long diagnostics process) was to move the entire library to an external disk. Creating an external library is not a step to be feared although some care should always be taken with such a process. If there is enough space, the new library could also be on the hard disk.
I connected the disk with the Aperture libraries and a second external disk which would be used to store the new Photos library. I quit Photos and restarted the app while holding down the Option key. That allows me to change to a different library or to create a new one. I navigated to the external disk I wanted to use in the Photos panel and took this option. After a short wait there was a totally empty Photos library for me to use, but with 8 libraries to import, this was not an easy afternoon's work.
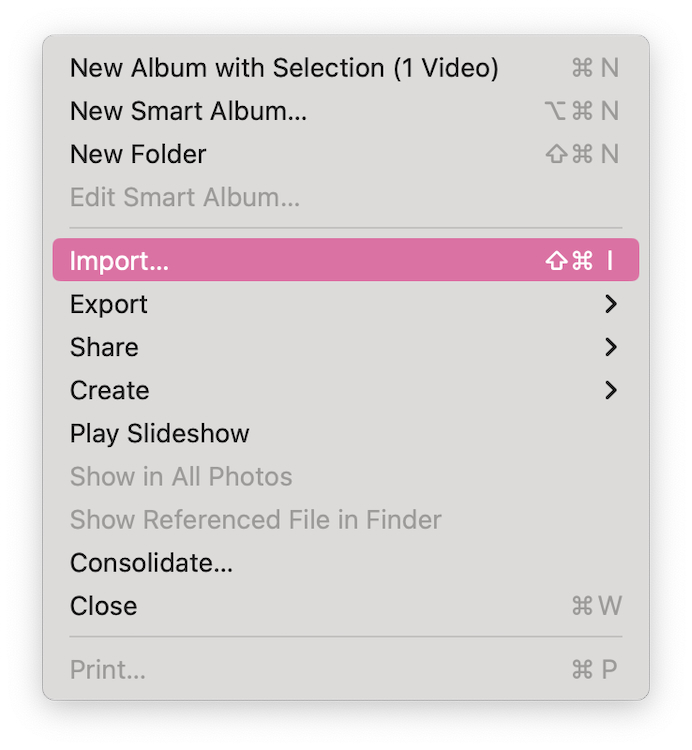
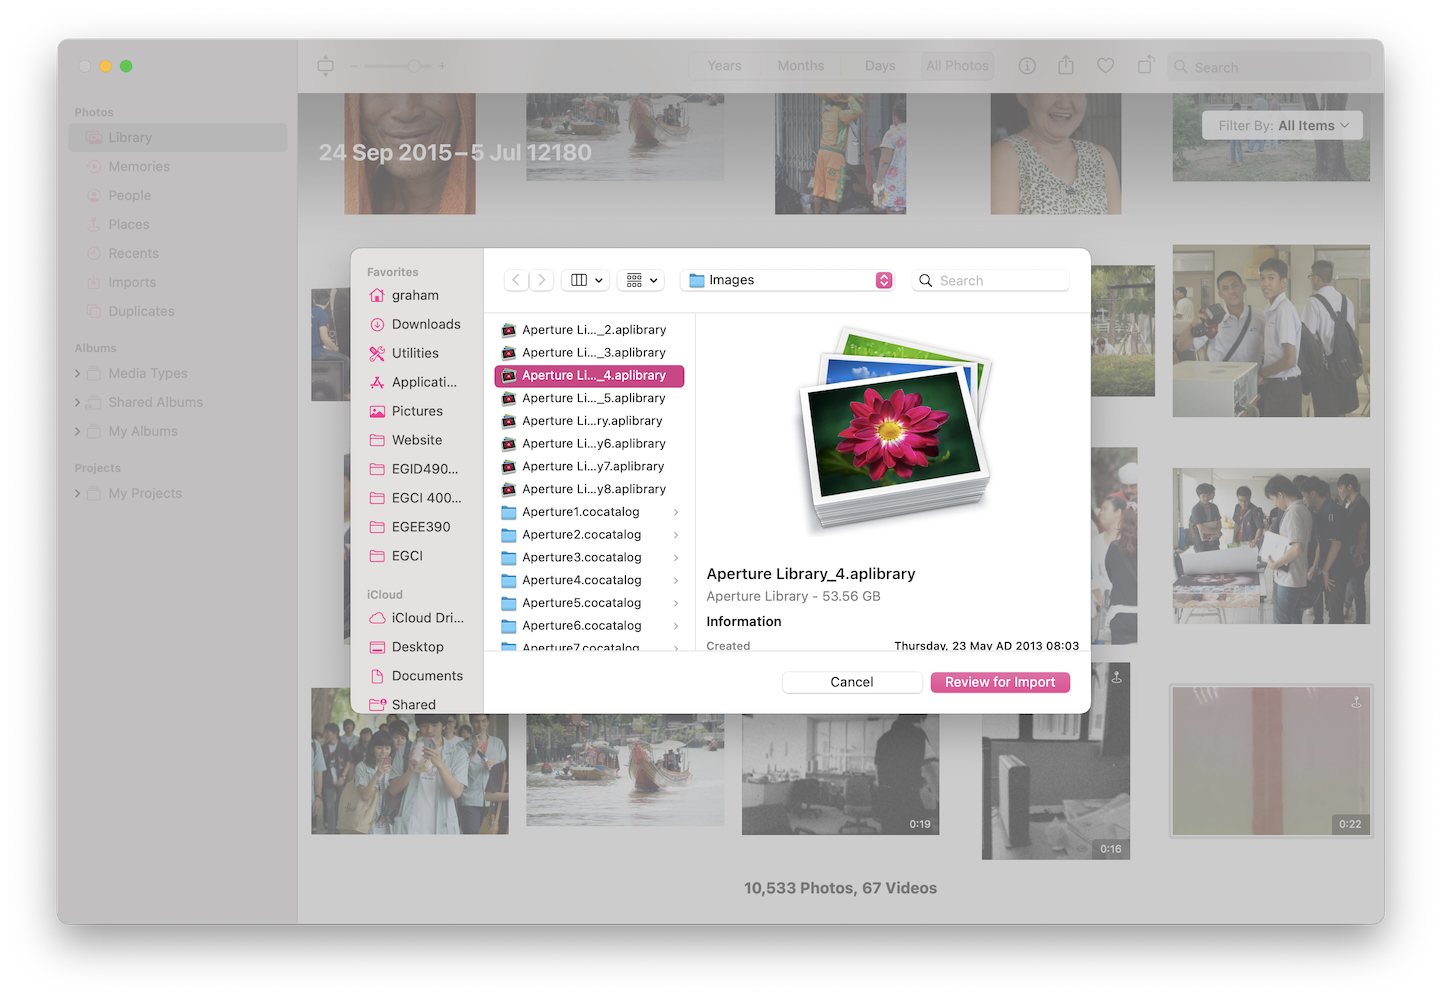
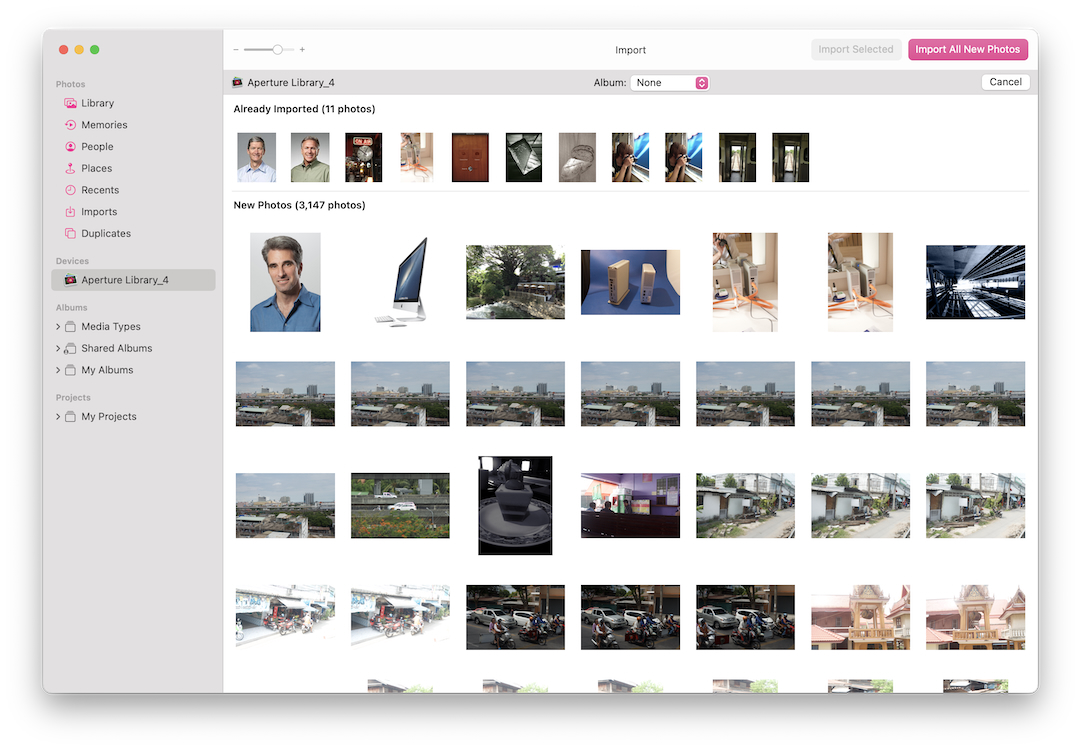
Following the information on the first panel that appeared, I opened the Photos File menu and selected Import. I navigated to the disk and folders where the libraries were stored and selected one (as a look-see). A button showed Review for Import. When I clicked on this, the images in the album were displayed in a Photos Import page. Any duplicates were also shown. Once I had examined the images, I selected Import all new images and the process began. This is not simply time to go and make a cup of tea, but for a drive to the mall for a meal.
A small import progress circle appears at the top left of the Photos Import panel, but this filled painfully slowly: not surprising really with the number of images. Another way I was able to see progress was by highlighting the target disk in the Finder and selecting Information (Command + i). The capacity of the disk is shown. The amount of free space available is displayed as it decreases. This is also useful to confirm that the process has not stalled.
Once a library had been fully imported, I selected the next. However, as the Photos import display does not show which library is selected while it is in progress, I forgot which one should be next a couple of times. With the Review for Import feature, when I tried one library it was obvious that I had been here before: all images were shown as duplicates.
I had completed half of the imports by the time I went to bed and left Library 5 running. As one ages, it is necessary sometimes to visit the bathroom during the night, so I used the opportunity to start importing another library. I started Library 7 when I got up. Shortly after breakfast, there was one to go. As it was somewhat large it was not completed by the time I left for the office, so I let it run. My only concern was the potential for a power cut: these happen here sometimes, although more in the rainy season than currently. When I returned, there had been no power cut and the imports were complete.
I scrolled through the new library as quickly as I could. There were over 35,000 images. I noted that some images were already in my regular Photos library, but that was not a concern: the exercise had been to gain day to day, easy access to the Aperture libraries. Once I was satisfied that the images were there (I will take time later to examine them more thoroughly), I quit Photos, unmounted both external disks and disconnected them. They are both LaCie drives with the same design: one silver, one gold. The silver one has the new Photos library with the Aperture photographs. Both will be locked away. When I have a suitable disk, I will duplicate that new Photos Library: redundancy is good.
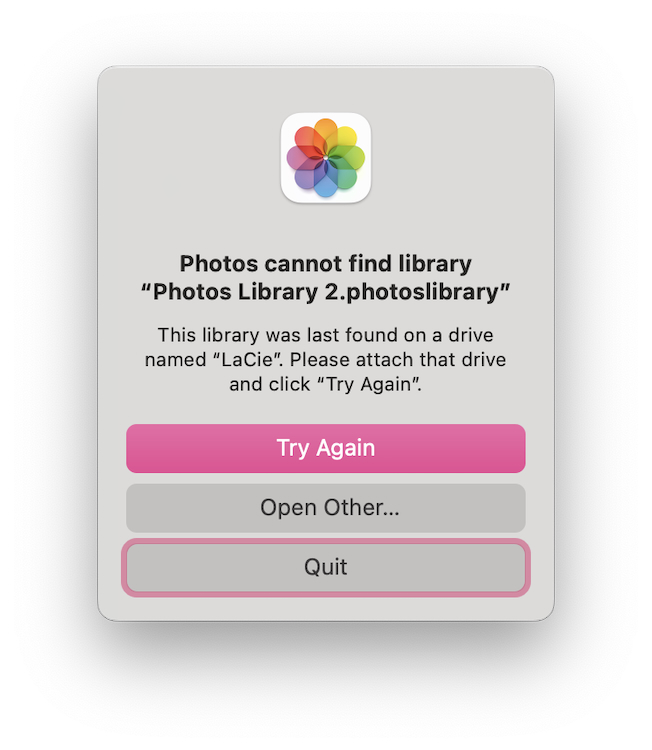
Only one Photos library can synchronize with iCloud and I had already selected the main one that resided on the SSD of the MacBook Pro. During the day, however, I had checked my other devices and made sure that there had been no change to the iCloud settings. All images remained the same. I re-started Photos and it was unsurprisingly unable to find the library (the last one). I was offered a panel to try again, search for a suitable library or Quit. Just to check I quit Photos and restarted with the Option key held down.
|
|
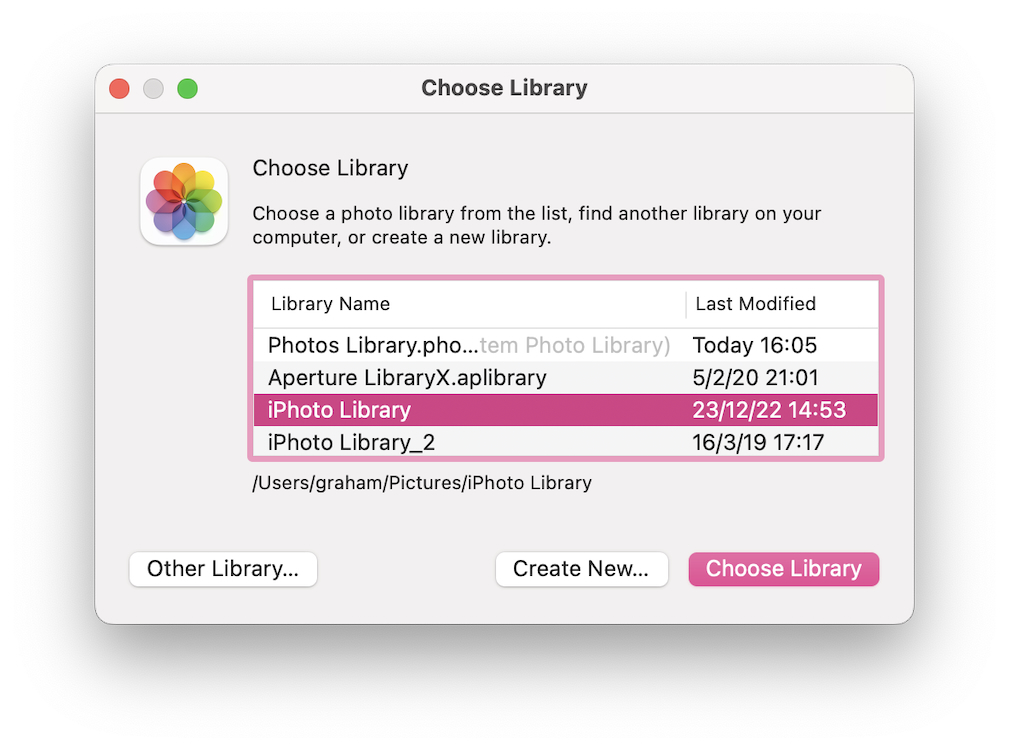
This gave me a panel which showed what was recognized in the Pictures folder of the MacBook Pro hard disk. This included a couple of iPhoto libraries which I ought to look at later. I could also have switched disks, which is what I had done earlier before the transfers. I selected the Photos library at the top of the list, pressed Choose Library and all the images were made available.
I miss Aperture still.
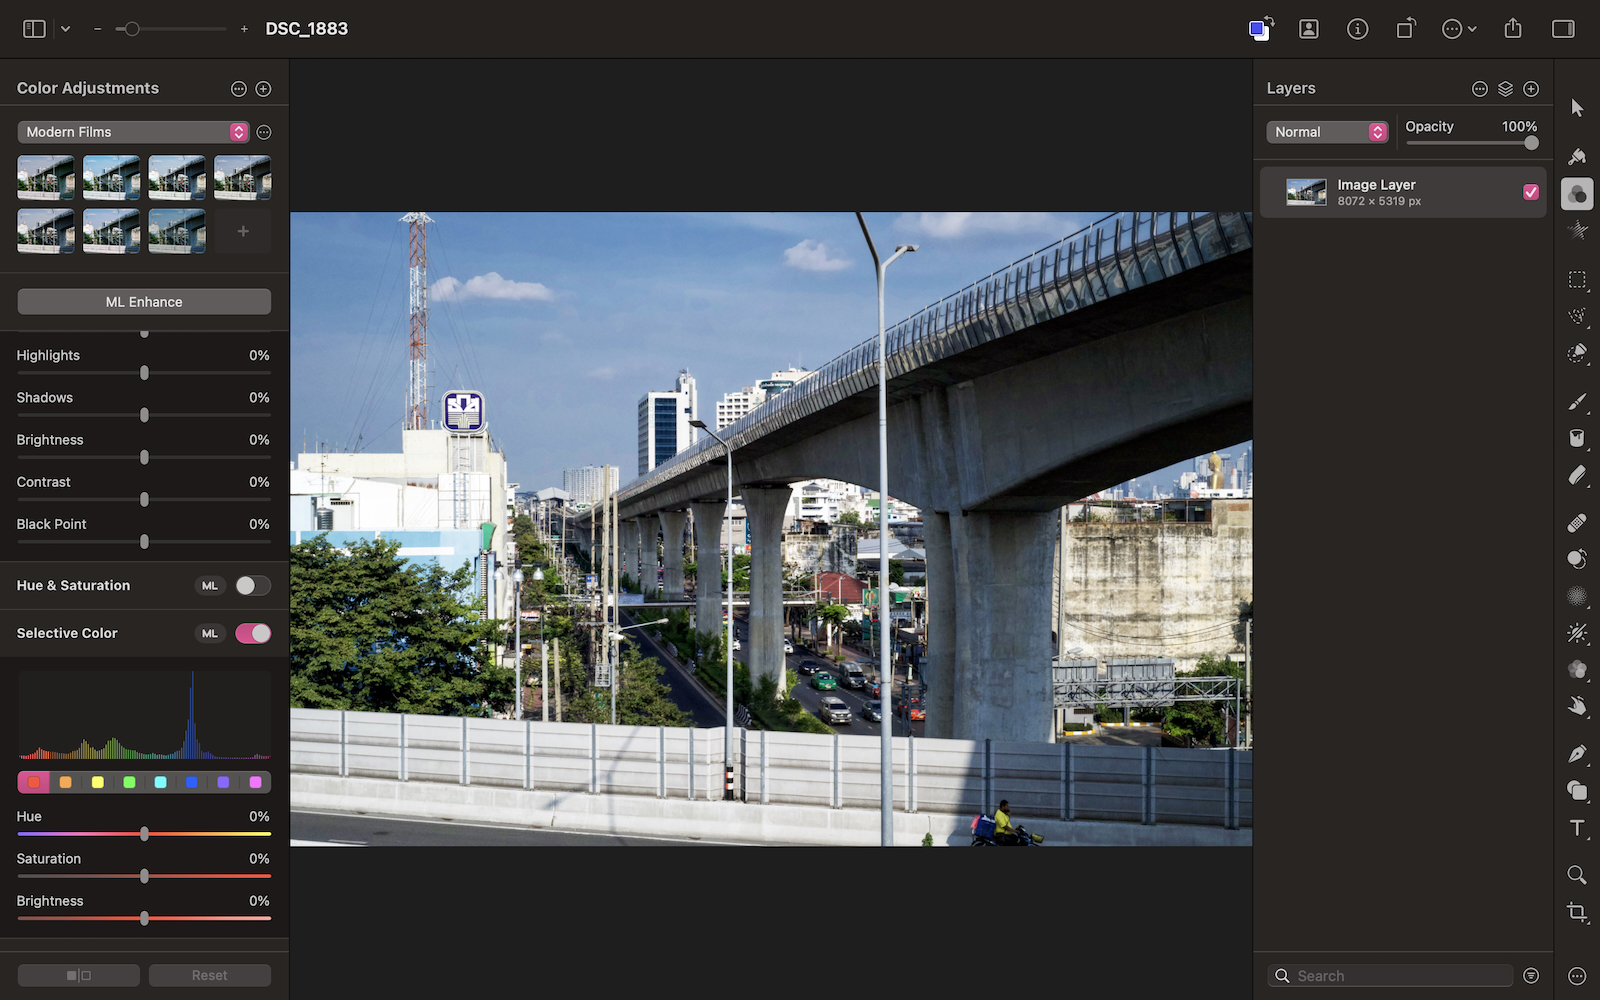
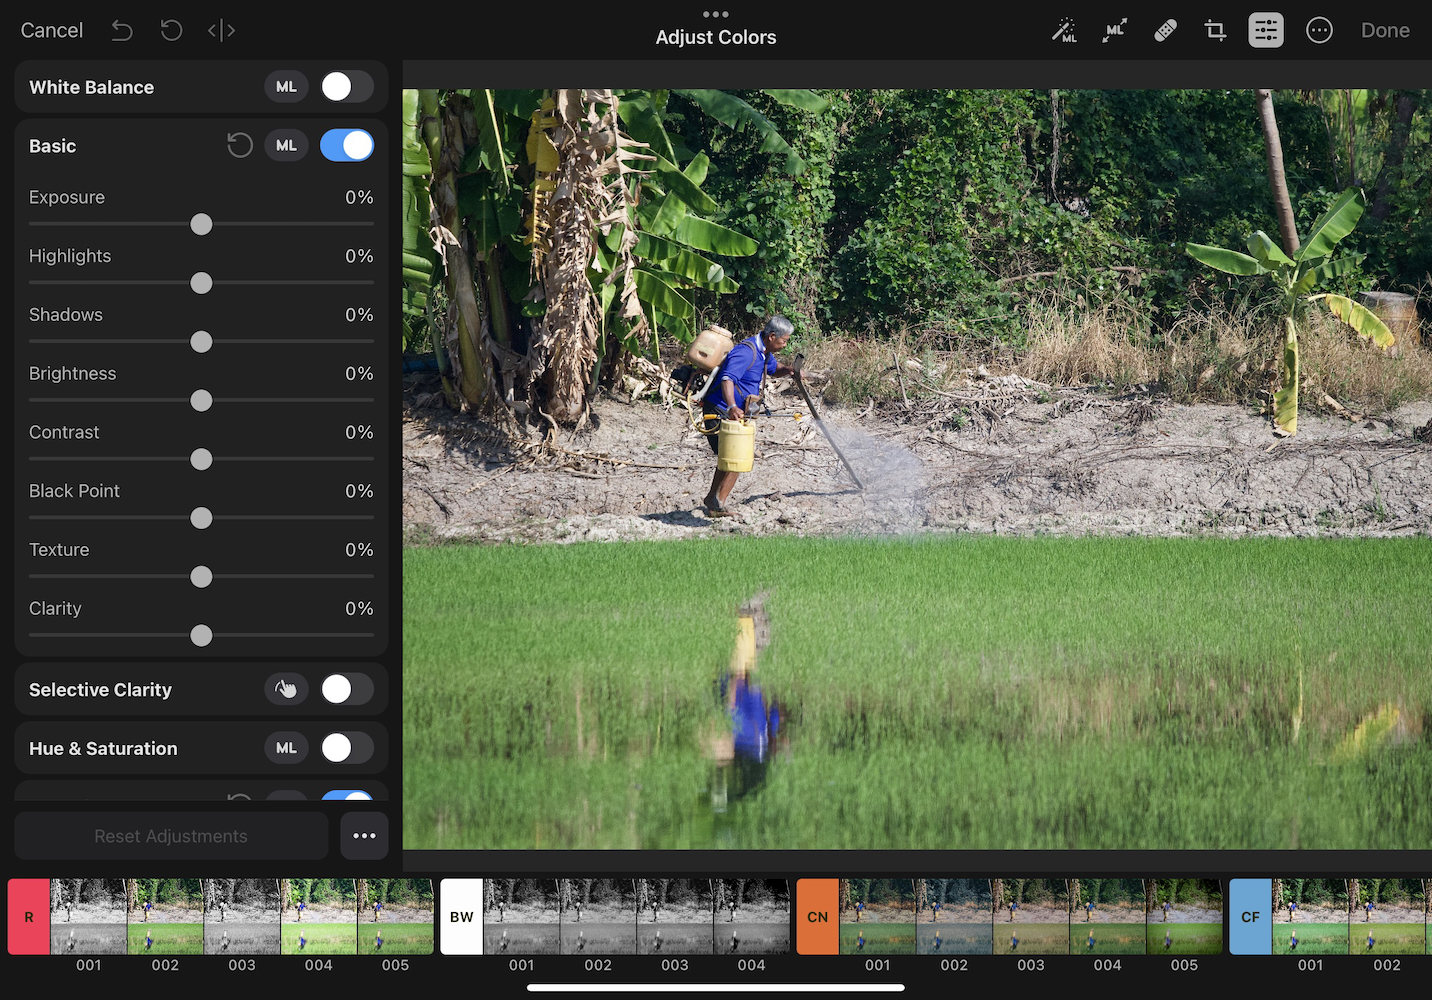
I also use Darkroom and Affinity Photo on both platforms as well as several apps on iOS/iPadOS some of which can do simple tasks only (like Tadaa or Retouch), but are useful in their own way. A number of apps have now begun to move to subscriptions which I do not like. In some cases this has caused friction. I would rather buy the application outright.
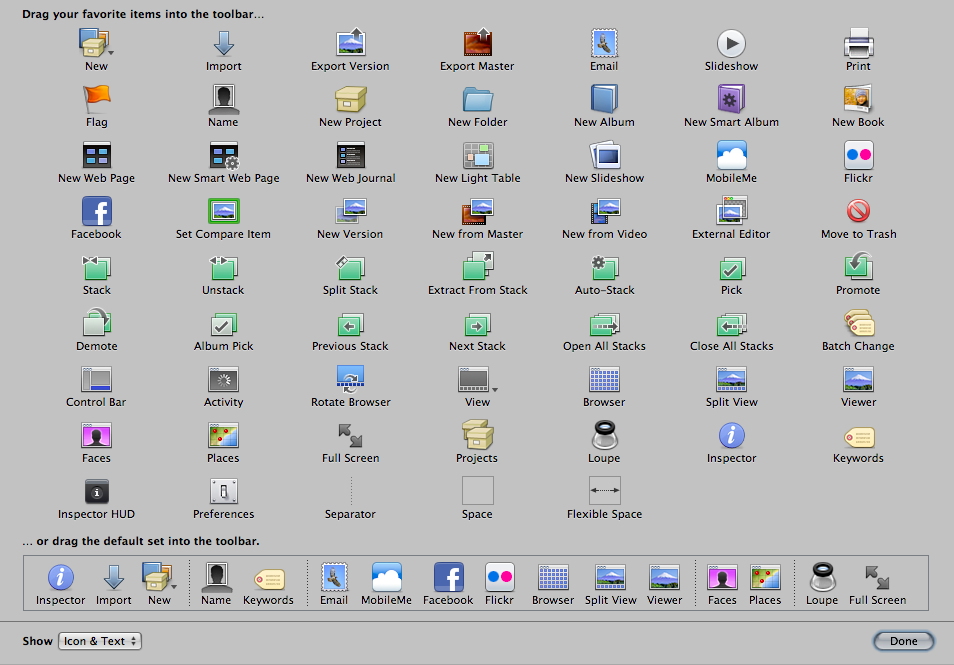
Toolbar customization in Aperture
Graham K. Rogers teaches at the Faculty of Engineering, Mahidol University in Thailand. He wrote in the Bangkok Post, Database supplement on IT subjects. For the last seven years of Database he wrote a column on Apple and Macs. After 3 years writing a column in the Life supplement, he is now no longer associated with the Bangkok Post. He can be followed on Twitter (@extensions_th)

For further information, e-mail to
Back to
eXtensions
Back to
Home Page