Tuesday Diversion: Surprise Mac mini - Setup, Updates and Data Transfers (Amended)
By Graham K. Rogers
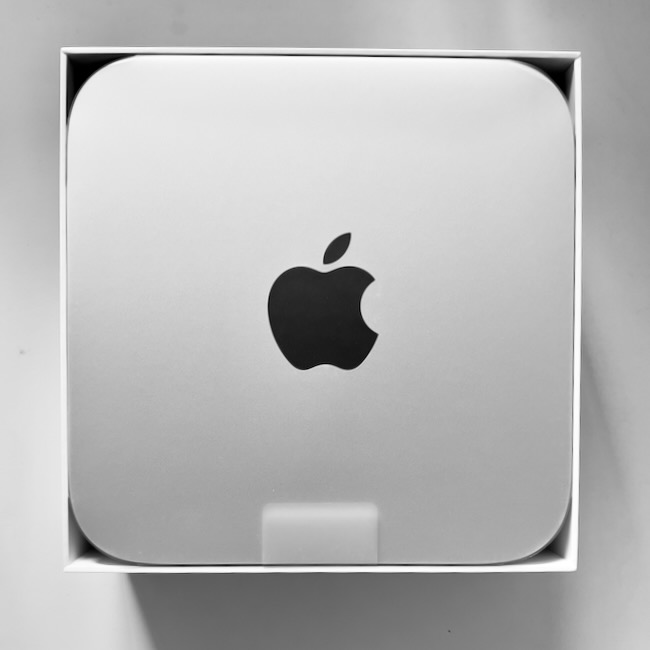
Although I knew my 2014 Mac mini would not be able to upgrade to Ventura, I was surprised to see a warning of insufficient space. With the way I had data - some in the cloud, some on external disks - I did not have any latitude when considering how to make space for the update to Monterey that arrived the same day as Ventura. I decided instead to order a new Mac mini and that arrived 3 days later on the Friday afternoon. I waited until the Sunday to set it up and considered how best to do this.
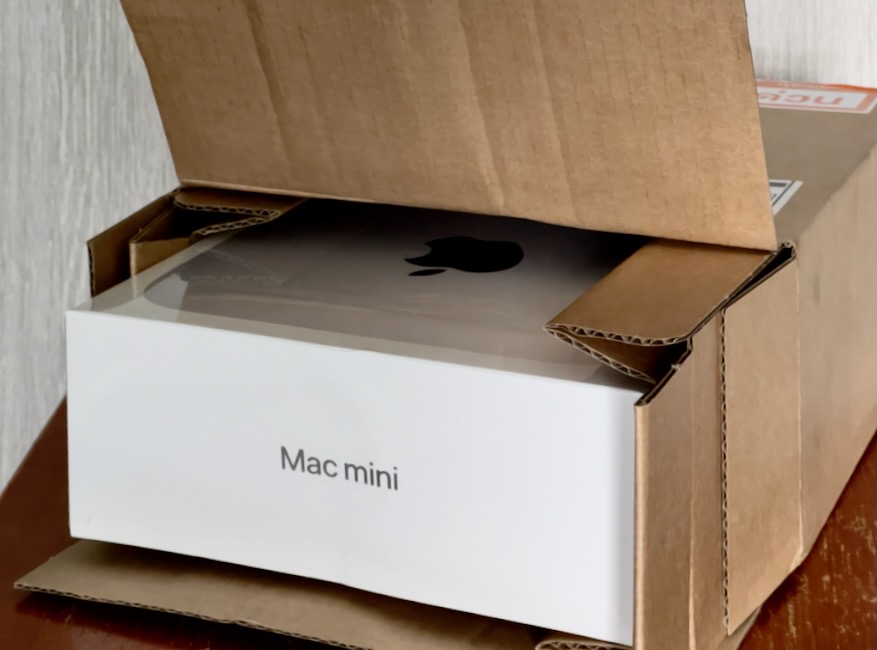
I did not notice initially, but the external packaging had been damaged and there was also some denting to the Mac mini box. Internally it looked fine, but I wondered if this had been caused by carelessness or the weight of other packages on top. Either way, this is of some concern. I did not recognize the courier name and some of the tracking notes were in Chinese. I had never had problems from DHL or FedEx when they have delivered Apple products from Singapore.
As this was a replacement for a spare Mac mini used as a backup device in my office, the data was not critical. Most was in iCloud or on external disks. However, I wanted to retain the specific setup and organization of files so considered the options: using a Time Machine backup; data transfer from the old Mac; a new installation. As the first should have been easiest (if it worked) I started with that.
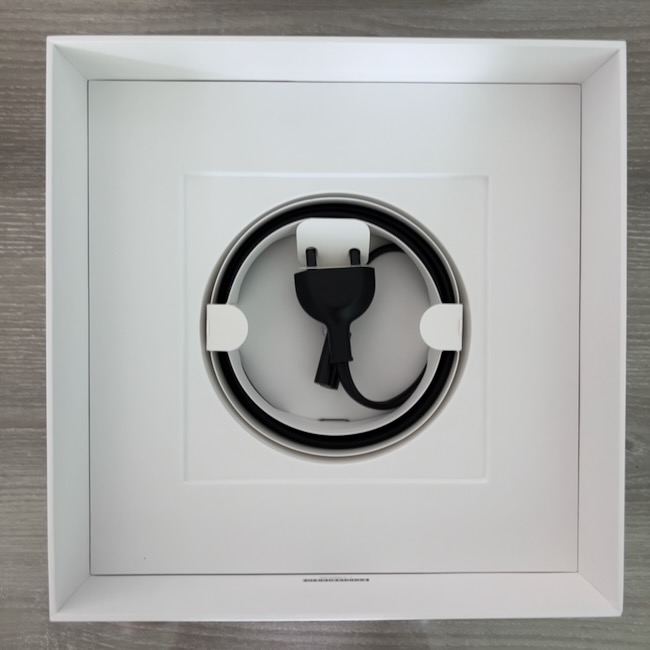
I connected the power and HDMI cables, put the wireless keyboard on the desk along with the trackpad and found the WiFi password. Then I turned the power on: always a magic moment. The Mac was slow to connect to the Bluetooth trackpad and just as slow when I tried the keyboard. I entered the WiFi password and was then offered Migration Assistant. Following the instructions for my choice of transfer, I connected the disk to the USB port and waited. Despite the M1 chip, the whole process was going to be slow and the afternoon extended into early evening.
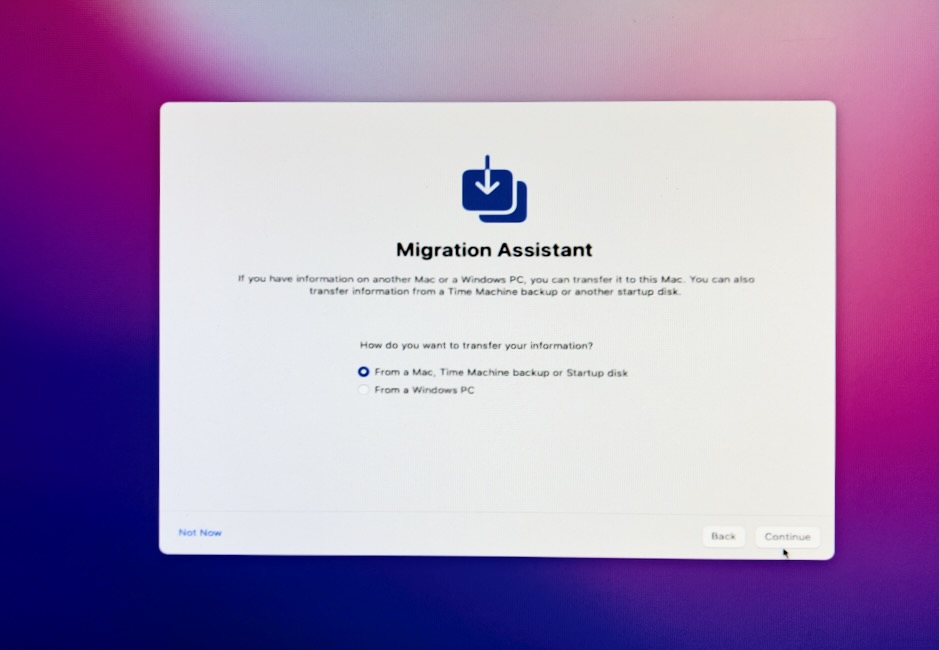
When the disk appeared in the panel, the installation software did recognize that the last backup was made using 12.6.1 and I was surprised when it recommended an update. It did not tell me, however, what it was updating to. It started to download 3.07GB slowly, but after about 30 minutes I had the computer back and waited while it found the backup again.
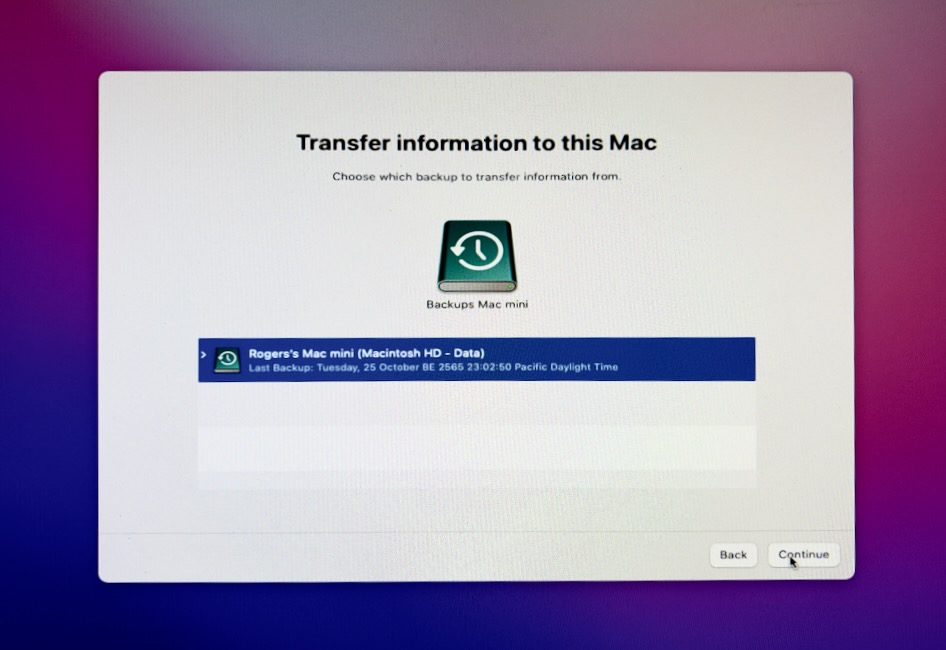
The Information Transfer panel appeared but it could not find the disk that it had recognized earlier. I pressed the "Back" button and tried again. A few minutes later I pressed the "Back" button again, but this time removed the cable from the USB port and inserted it in the other one. The disk and correct backup were recognized almost instantly.
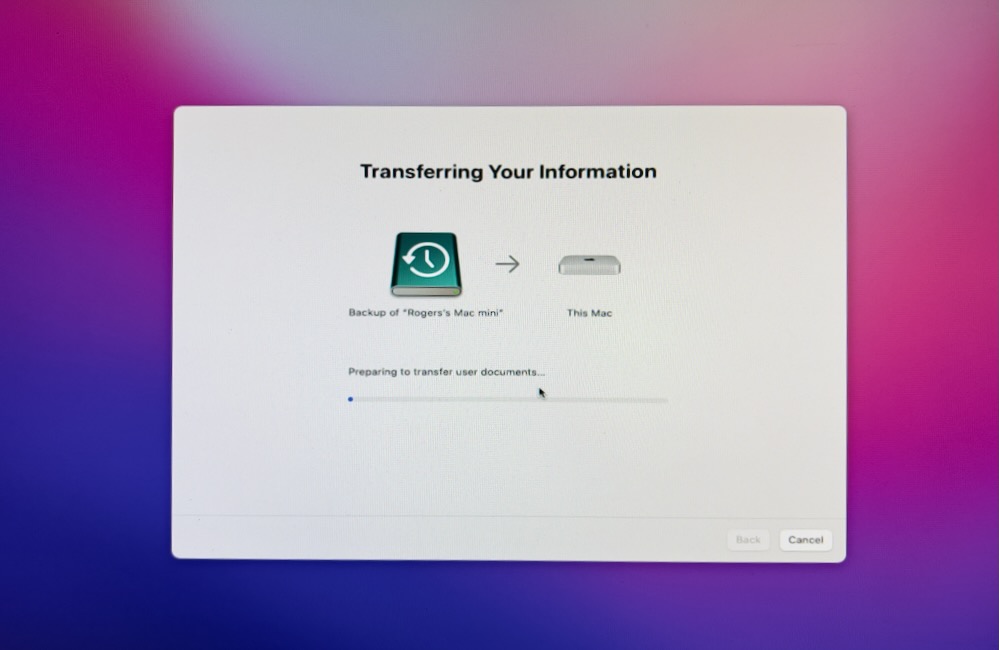
Before the backup could begin, I was asked to set a password for the Admin user. As the update recognized there was data for a separate User account in the backup, a temporary password was provided and this would be changed when I logged in for the first time. I wrote the complex character set on a piece of paper: checking carefully before moving on. The process included agreeing to the License Terms and Conditions after which the transfer began. Albeit this was somewhat slow, there were no interruptions and when complete all the data (and the accounts) were safe. Transfer speeds were around 8MB/s and it took a couple of hours. The computer restarted when this was done.
The next stage, as accounts were set up and verified was a bit frustrating as several messages had to be sent with verification codes; and all the other devices chimed in (not quite in unison) when the new device was recognized. This was only confirming that all was well after all. The iCloud log in needs verification and that was sent, but it was not until there was another restart that I found the Mac mini was still using Monterey. Going back to the Time Machine data transfer process that made sense, but I had not considered this at that time. It was now time for the upgrade to Ventura. The 5.52 GB download seemed a little faster than it had the previous Tuesday morning.
After the restarts another panel appeared while I was trying to set up FindMy. I had to do that again. The odd panel told me that XCode was damaged and it kept appearing every so often. I delete this a couple of days later. It was not an immediate problem. The App Store had 4 updates for me: iWork (Keynote, Numbers, Pages) and iMovie, but before I could download these I had to sign into the account. I set this up originally before for iTunes, when iCloud was called iTools, then MobileMe. When iCloud became a usable service I created a new account. Having the two accounts is a bit of a nuisance and I wish they could be merged. Nevertheless I work round the difficulties, one of which was another round of verifications, which took a couple of goes as I mistyped the password.
I started Photos but it could not find the library, correctly identifying the external disk I had been using with the smaller SSD of the old Mac mini. With the 512GB SSD it was time to use the Mac's hard disk and have all the images synchronize to that. I was offered a panel and selected, "Create New". I had to make sure that this was designated as the System Library (with dire warnings about the choice). Once done, all my photos began to synchronize, including those I had taken earlier with the iPhoned when setting up the new Mac. With something over 21,000 images, I thought that was going to take a while, but it was all done in about an hour.
Once these images were in Photos and a few other changes had been made, I reconnected the Time Machine disk for a first backup. I was given the option to reclaim the old backups, but decided to keep them (until I buy a faster disk for the purpose) and started new backups for the M1 device (see below). I ran several of these overnight and when I arrived at the office the next day.
Back in the office with the M1 Mac mini
I connected the Time Machine disk to one USB port and the data disk to the other. I had intended to format that, but there was some data that I thought it would be better to keep for the time being. The monitor allocated to me had a VGA cable so I asked the IT Department if there were a monitor with HDMI available. Not right now (or for the foreseeable future I guess). In my bag I had a VGA to USB-C adapter, but of course lost the use of a port. I will need the adapter for teaching later on this week, but a look online showed the existence of a VGA to HDMI converter. These are not expensive so I will investigate this if and when I can track one down.
A warning in the afternoon showed that backups were not being completed due to lack of space. Time to start again. I erased the disk. While this was being done, Time Machine offered to use the 2 TB disk and I took this offer up. I also opted for the encrypted backups: another new wrinkle.
Graham K. Rogers teaches at the Faculty of Engineering, Mahidol University in Thailand. He wrote in the Bangkok Post, Database supplement on IT subjects. For the last seven years of Database he wrote a column on Apple and Macs. After 3 years writing a column in the Life supplement, he is now no longer associated with the Bangkok Post. He can be followed on Twitter (@extensions_th)
|