OWC Thunderbolt Hub with M1 MacBook Pro: First Impressions
By Graham K. Rogers

When I ordered Apple's M1 MacBook Pro, I knew that with only two ports I would need a hub. My Intel MacBook Pro has four ports. Coincidentally, OWC announced its upcoming Thunderbolt Hub just after Apple's M1 announcements. It looked just right for my needs. Released in mid-December, it arrived here a couple of days before the new year.
When the first MacBook Pro computers with the USB-C ports were released I had a couple of these on loan and also bought my own. Around that time I also had two of the first iPad Pro devices. I later bought a 10.5 inch iPad Pro and that has been a boon to my productivity. The common factor with all of these devices was the USB-C ports. Before, my computers had SCSI, Firewire 400, Firewire 800, Thunderbolt 1 and 2, and USB type A connectors. My computers are now all USB-C.
I did pick up some Apple adapters to help connections with some older hard disks I had and other devices, but the transition was made a lot smoother by buying cables: micro USB to USB-C, and USB type B (for the scanner) to USB-C. Many devices I have, like external disks and my DSLR camera use micro-USB so these cables have seen good use. Earlier in 2020 I bought a MacBook Air which has two of these ports. As this was a back up computer, which I now leave at the office, the two ports were enough for my needs.
When Apple announced the MacBook Pro with the M1 chip, I ordered one as soon as I was able: they came a little later to Bangkok. I was of course aware that with two ports I would need to adjust my workflow, particularly with regard to the number of devices I connect when teaching online. Like previous MacBook Pro devices, I upped the RAM to 16 GB.
At almost the same time 0WC announced its four-port Thunderbolt hub for $149, which looked perfect for my needs. Although they were not made available until mid December, I ordered one right away. It arrived this week. With shipping it cost me $182.52 (2390 baht) and the courier service took another 610.33 baht for Customs charges. Most deliveries these days experience such charges (not Apple, that is covered). I have not rushed to use the new Mac, partly because I have teaching projects ongoing and there are marks to collate for the closing semester. Switching computers could be a risk. My slower approach to bringing the M1 Mac up to speed will gave me time to see how it works. Now I can see how it works with the OWC Thunderbolt Hub.
I am of course quite impressed with the Mac particularly with its battery life. Without pushing it, I find that certain actions, like opening apps are much quicker. Using iStat menu bar icons I can see that temperatures are much lower when I run tasks, while the Mac cores are just not stressed at all. This has Thunderbolt 4 ports for device/drive connection that provide up to 15W of power. USB ports provide up to 1.5A of power for bus-powered drives and device charging. Data transfer speeds are shown as 40Gb/s in and out.
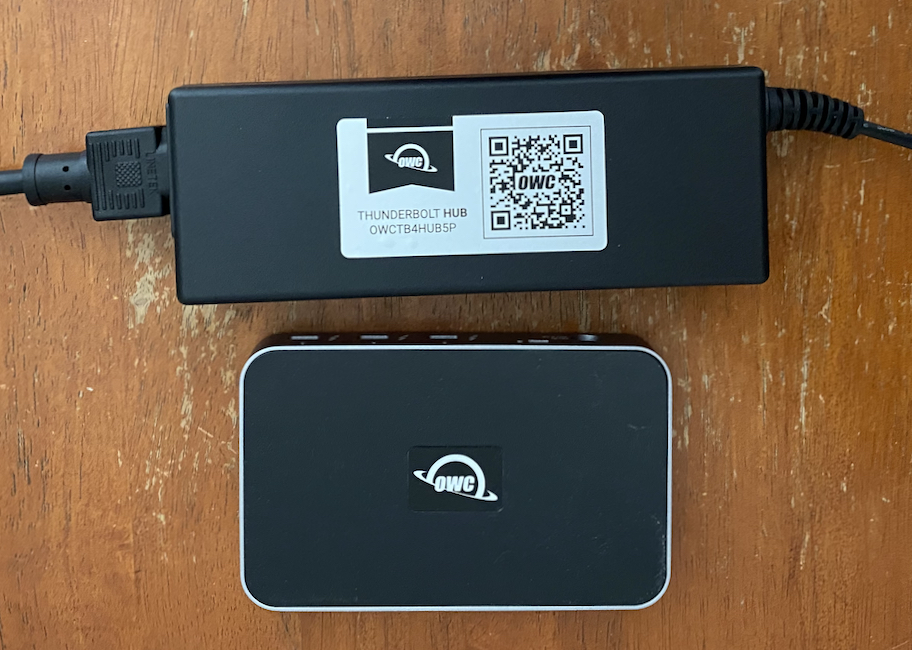
OWC Thunderbolt Hub with power brick
The OWC Thunderbolt Hub comes with a power brick almost as large as the hub itself, a short USB-C to USB-C cable and minimal instructions. There are links provided so that more full instructions can be accessed. The underside of the power brick has a QR code which kept trying to connect me to the Internet while I was taking photographs. Information is available should I need it.
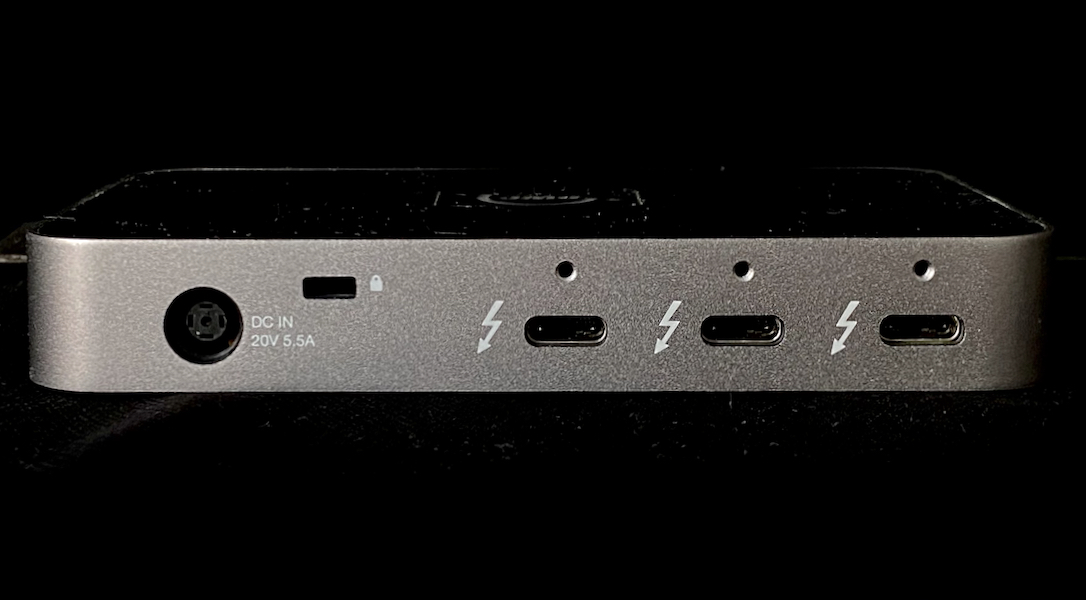
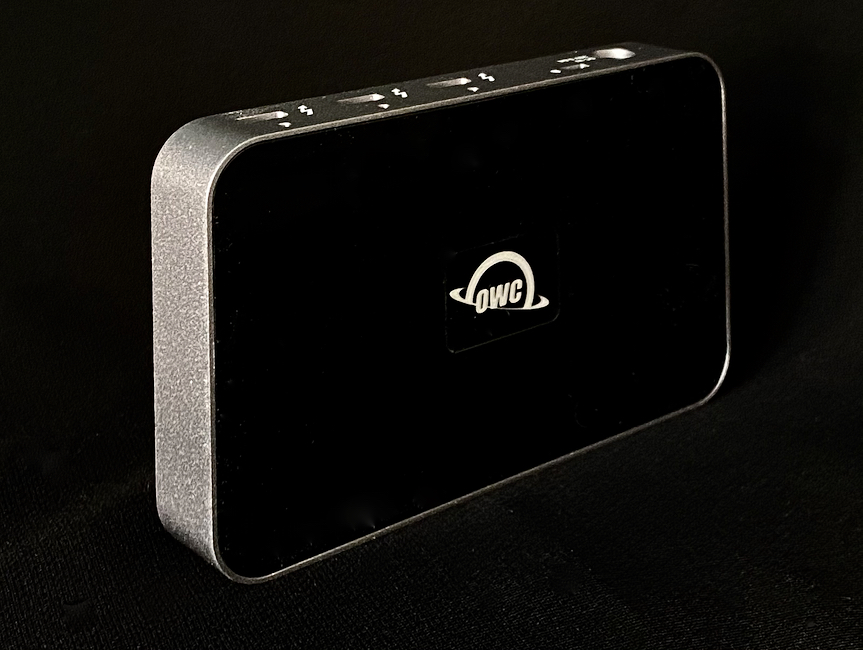
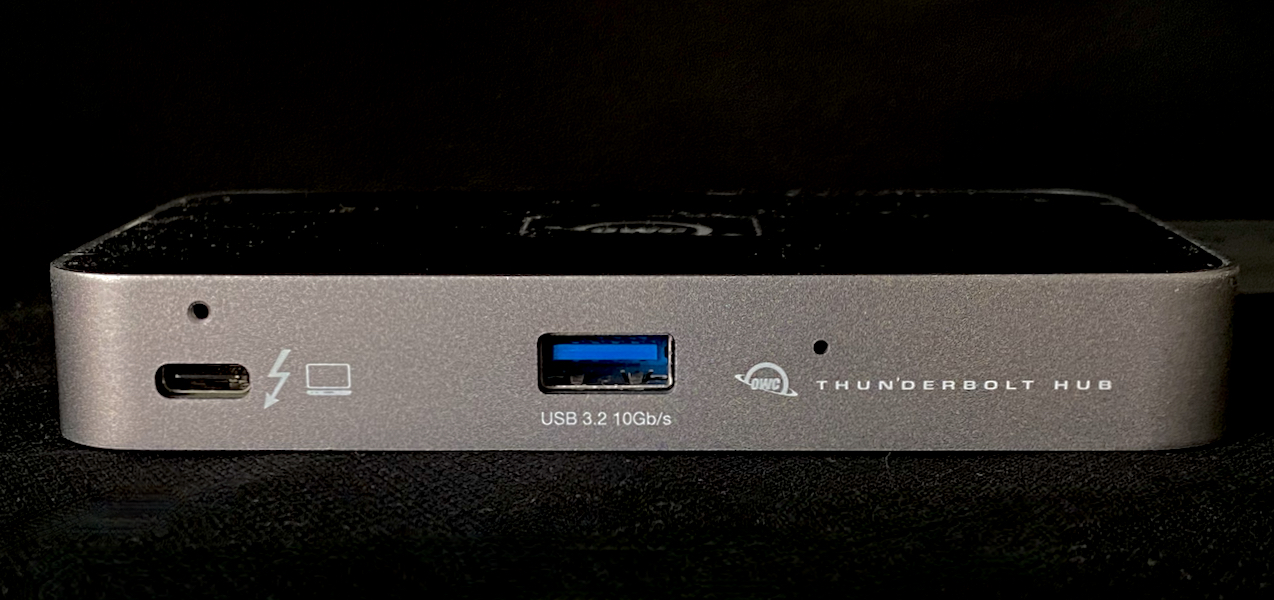
There are three ports on one side of the hub, along with a USB type A port for old-fashioned connectors. The other side has another port which is marked with a small icon. This indicates the connector for the computer. The power brick can operate at 100V up to 220V, so is suitable for use in all countries. Thailand like the UK uses 220V. I connected the power brick to the main supply then put the connector into the hub. The OWC icon in the center lit up white. When I connected it to the Mac using the cable the light turned to blue.
When I first connected the Hub to the Mac the menu bar icon for power showed a device, but it took a few seconds for that to indicate charging was taking place. The specifications show "up to 60W". I tried also with the Apple 61W power brick and that showed charging immediately. The hub may have other controls as it has to do several jobs. I left it connected and it charged the Mac fully.
With no power to the Hub I tried to connect a hard disk to both the Intel Mac and the new MacBook Pro, but neither mounted the disk. As is confirmed in the Manual, the OWC Hub needs the power connection to work. Despite its small size the need for the power supply may limit portability.
I accessed the online manual as there were several things not covered in the information sheet, or the specifications outlines on the OWC Thunderbolt Hub sales page (or the OWC Pocket blog page). One thing that had intrigued me was mention of the "adjustable LED". With the customizable illumination feature, I imagined switching the blue to red or another color. In reality, the manual told me that this is a feature that allows the bright LED (too bright for iPhone photographs) to be turned off. Some environments would need that. It resets when next powered on. There was much useful information in this manual.
The LED adjustment is made using a small hole (and a paperclip) just to the right of the USB Type A port. Above each of the USB-C ports is a hole that looks similar, but is for the OWC ClingOn mounting point: magnetic but with a screw connection for extra security. There is a good argument for these as some combinations of ports and connectors are not as secure as (for example) Lightning. Moving my Mac while a disk is connected has seen a disconnection on more than one occasion. A Kensington Nano slot is provided just to the right of the power connection. Also available for the Hub is a Dock Ejector that does away with the need to disconnect (on a Mac, Unmount) devices one by one. There are versions of this for Mac and Windows. That is an option I will also consider later.
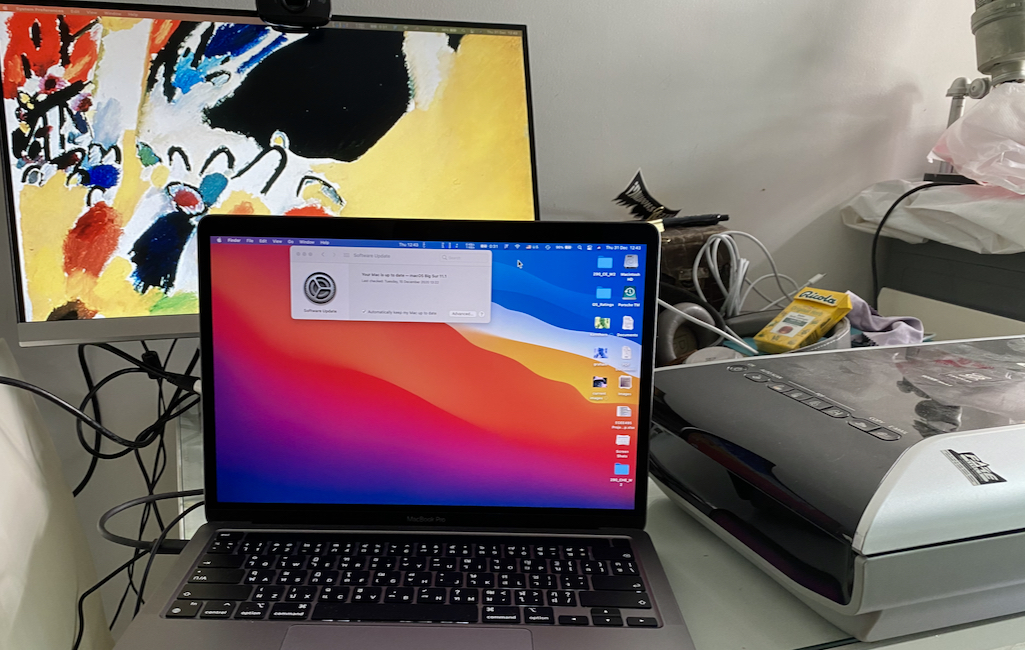
As I had just collected some negatives this was a good opportunity for me to connect several devices and see how effective this was for my purposes. As well as the Canon 9000F scanner, I used the HP HDMI monitor I bought for online teaching. I was disappointed to find how much power this monitor would draw from the Mac, despite having its own power supply. This is connected to the USB-C port via an Apple adapter. I added a hard disk used for Time Machine backups (that has no power supply, drawing its power from the Mac) and a Logitech webcam that was connected to the Hub via the USB Type A port. I turned that on using FaceTime and kept it running in the background.
With all these devices connected, I still had one Thunderbolt port free on the Mac. I would probably use that if I needed to connect the iPad Pro for marking up student writing during online teaching, although obviously I would not be using the scanner then. Power was shown in the menubar icon as 96% when I started. It stayed like that for several minutes. Shortly after I started scanning, it crept up to 98% and did eventually reach 100% after some 25 minutes.
To gauge the power use of the monitor, after scanning and some other tasks, I disconnected the hub and left the Mac for 60 minutes with no power source. I was surprised to see that it still showed 100%, so perhaps that was a problem when used in conferencing. I also tried with the Intel MacBook Pro. 1 hour reduced the battery from 100% to 93% (by late afternoon it was showing 75%). Like the M1 Mac there was no other activity during this time.
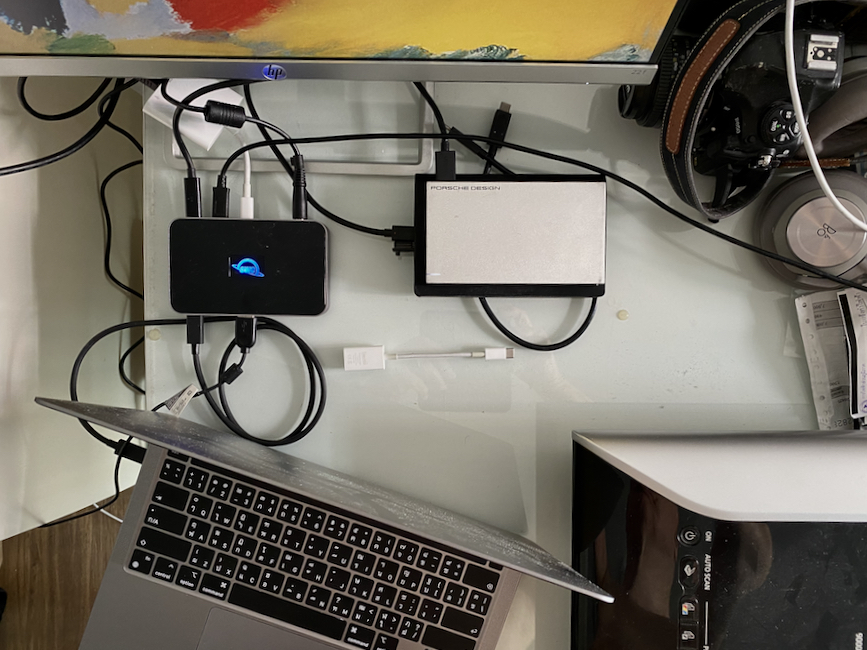
The limited space I was working in is a nightmare for cable placement. The scanner needs a flat table and everything is placed to suit that. My online teaching setup uses the room space in a different way, so I should be able to site cables more strategically. This is not a problem with the Hub, but I am wary of potential risks that could rise from unexpected movements in the space available. I had no way to test this other than the feel of the cables. Once the hard disk was unmounted I checked them all. They fit snugly within their ports (Mac included), but I was able to wiggle them a bit, including the cable connected to the Mac. Those ClingOn mounting points looked far more attractive than when I started. I am a firm believer in redundant systems.

Not that I am likely to take the bottom off (access to the inner workings is probably through screws behind the four rubber feet) but the overall finish is good. The brushed aluminum sides are one piece and there are no jagged edges round any of the ports. After running it for a couple of hours the base felt slightly warm to the touch. The black plastic finish collects fingerprints and dust, although the latter has decreased since I took it out of the box. The plastic protection may have caused some static electricity. The box itself with an interior container for the unit was a one-piece construction, with no adhesive. I was (almost) able to fold it flat before I put it in the recycle bag.
The OWC Thunderbolt Hub works just as I wanted, bearing in mind I am used to four ports on the Mac for everyday work and had never used a hub before. A test of a good device is that it is unobtrusive. This is plug and play, although needs that power input. I am having to learn to be more economical with cable placement. The price is reasonable. There are cheaper hubs, but I am not ready to risk data or my devices. I am quite willing to pay a reputable company (OWC, iCal, Kensington) for good equipment. For anyone needing additional ports, this is worth considering.
Graham K. Rogers teaches at the Faculty of Engineering, Mahidol University in Thailand. He wrote in the Bangkok Post, Database supplement on IT subjects. For the last seven years of Database he wrote a column on Apple and Macs. After 3 years writing a column in the Life supplement, he is now no longer associated with the Bangkok Post. He can be followed on Twitter (@extensions_th)
|

