|
|
Cassandra - Simple Black and White Photo Preparation: iOS and macOSBy Graham K. Rogers
This week I saw a useful article on Shutterbug discussing how to create "striking black and white images using Photoshop" with a short video (Aaron Nace). There is some interesting work here and this is of value to those using Photoshop who are interested in such output. For a number of reasons, I am not a Photoshop user, so I want to look at the tools available to iPhone users in Photos. Those using this basic application on the Mac will find a few more tools (see below), but the same processes apply. In Photos there are 4 ways to adjust images: Crop (and straighten), Filters, Edit and Other (3rd-party extensions). There are three editing sections: Light, Color and Black & White. On iOS devices, each can be expanded to reveal tuning controls by tapping on the 3-line icon to the side when the section is in use.
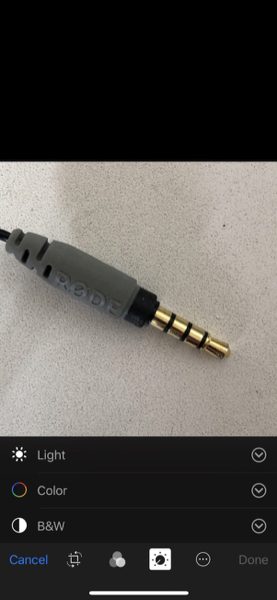
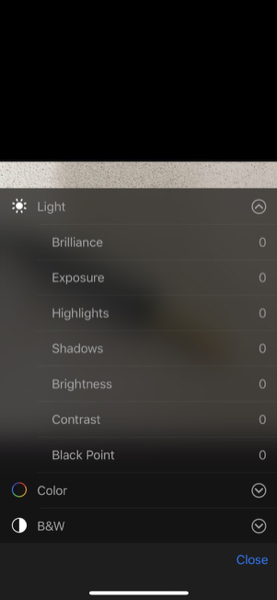
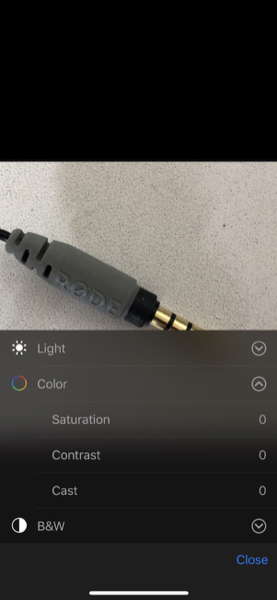
Range of editing options in Photos on iPhone
Photos on the iPhoneAfter cropping and straightening where necessary, I use the Light section to make some basic adjustments to the image, then consider how the output might look as a color image or monochrome. The Color section has a basic slider control like Edit and moving the finger to the right will give me a quick look at how the image might look as black and white output. Some photos just won't work as black and white: the colour may be why I was attracted to the subject. Others look as if they have some potential. If the image looks as if it might work as black and white output, I move on to the next stage.The Black and White editing section, like the others here, open with a simple slider with a small representation of the image shown. There is a little Apple magic here as sliding the finger to left or right, changes the image appearance as if red, green or blue filters were being applied. For example a green tree may change from a light to a dark grey as the slider is moved. Reds and blues will also be affected. This basic black and white editing may be enough for some images, but (as with all these editing controls), pressing the 3-line icon shows (here) 4 more sliders: Intensity, Neutrals, Tone and Grain. For my own output I am most likely to use Neutrals and Tone as these offer effects that suit me. I occasionally use Intensity to change the way the effect is applied, but almost never access Grain. As with all the controls, especially Color (Saturation) care needs to be used. I have a rule that works most of the time: after applying an effect, I take it off by 50%. Less is more. The same tools are available on the iPad, although with the larger screen, the interface is set out differently. It uses the same controls as the iPhone but they are off to the side.

Photos on the iPad
Notes on Photos for Mac UsersOn the Mac, Photos has these same controls, but also a number of others to make far more effective changes in editing. These include Retouch, Red-eye, and White Balance (sometimes poor on smartphone photos). Adding to the increased possibilities on the Mac, Photos also shows Curves, Levels and Definition, plus the sophisticated Selective Color, a tool that I had missed from the days when Aperture was my main workflow application. This allows specific colors in an image to be adjusted: red, yellow, green, light blue, dark blue and magenta. There is considerable benefit when improving images with this tool, but much risk too with overdoing it.Other tools available in Photos for the Mac are Noise Reduction, Sharpen and Vignette, each with 3 sliders for fine tuning. I have long been critical of Apple for not providing a Sharpen tool in Photos on iOS devices. Although there are 3rd party apps, it should be in Photos.
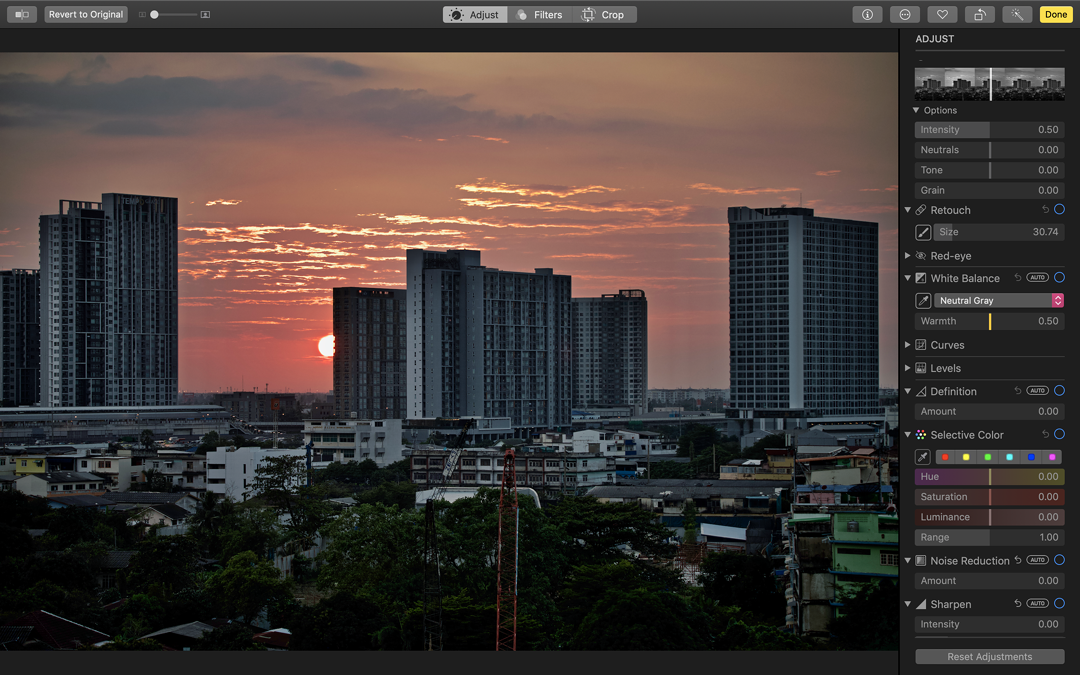
Photos on the Mac
CommentsUsers who are looking for the highest levels of output will choose applications, like Adobe Photoshop and others. While Affinity Photo and Pixelmator are available for iPads, Adobe Photoshop is due to be released for the iPad later this year. There is of course Photoshop Express currently so uses already have access to some extensive editing applications. Pixelmator also works on the iPhone although screen size is a penalty.Many users however may not have the skills or the need for such high level software. With some careful use of Apple Photos, it is still possible for them to produce some quite respectable black and white output with what is available on every device.
Graham K. Rogers teaches at the Faculty of Engineering, Mahidol University in Thailand. He wrote in the Bangkok Post, Database supplement on IT subjects. For the last seven years of Database he wrote a column on Apple and Macs. After 3 years writing a column in the Life supplement, he is now no longer associated with the Bangkok Post. He can be followed on Twitter (@extensions_th) |
|