|
|
Cassandra - Rethinking Photo Workflows (4): RAW Images on iOS DevicesBy Graham K. Rogers
The iPhone input comes mainly from the in-built camera with some synchronization of those DSLR images I keep in Photos on the Mac, as well as other occasional input: files sent to me; or rare transfers of photos direct from the DSLR using the Apple SD card adapter. Most images from the iPhone camera are now in HEIC format and can be edited in Photos. Some apps also allow output in TIFF or PNG. Certain apps (e.g. DSLR Camera, Halide, 645 Pro and more) allow images taken with the iPhone camera to be saved in RAW format. Optimized version can be edited in Photos, but RAW really needs software that will bring out the best from the recorded data. I have several such apps, but tend to favor Darkroom and RAW Power most, because of the image selection interfacing and the range of tools. I could easily make some quick adjustments in Photos, but if I have made the effort to take RAW photos, it is worth making the effort to give them some loving care when editing.
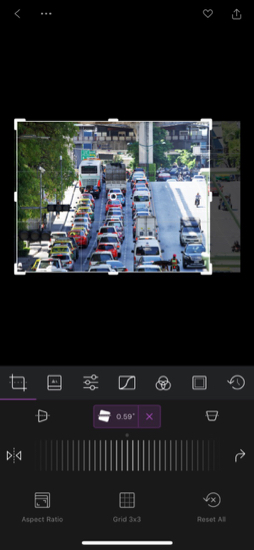
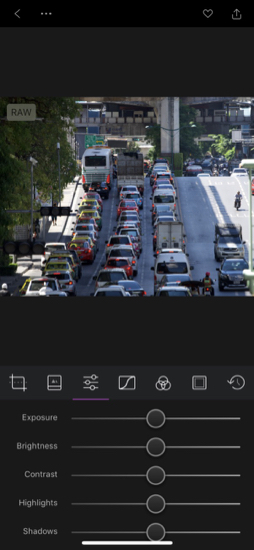
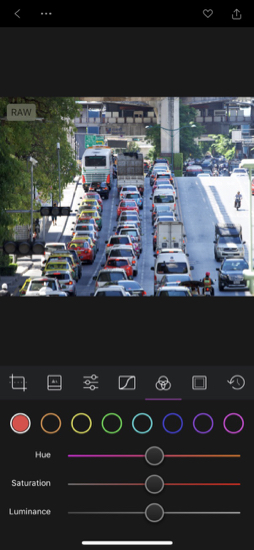
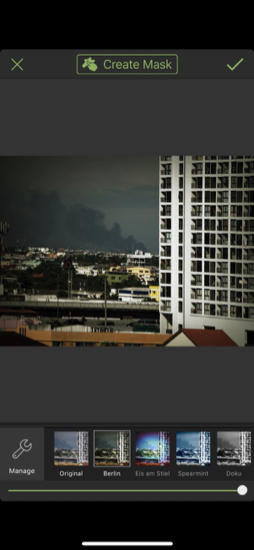
Darkroom on the iPhone X
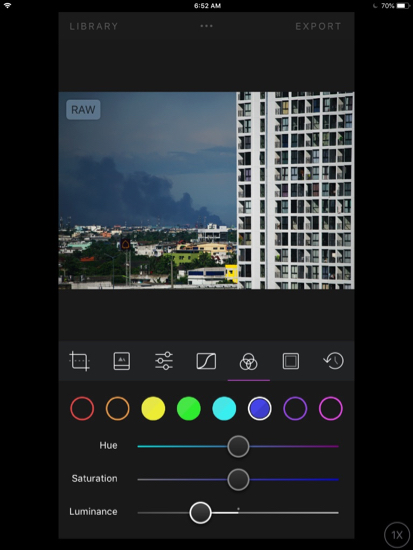
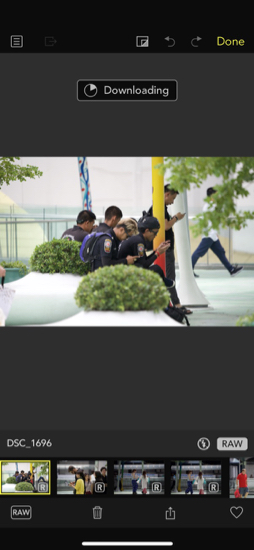
RAWDarkroom is useful right from the start as any RAW images are clearly marked as such in the thumbnail display of the library, and the tools are set out (Crop to left, through filters, levels, curves et al) for a logical workflow. I have recently experienced some problems with images from my Nikon D850, which produces RAW images of around 95MB. As iCloud Photos optimizes the images and the original RAW file has to be downloaded for editing, the app crashes when this is happening on the iPhone. It handles RAW output from iPhone apps (Halide, et al) and those from my Nikon D7000 (about 24MB). Oddly, when I use Darkroom on the Series 7 iPad, there is no problem, so this seems to be iPhone specific.
Darkroom on the iPad
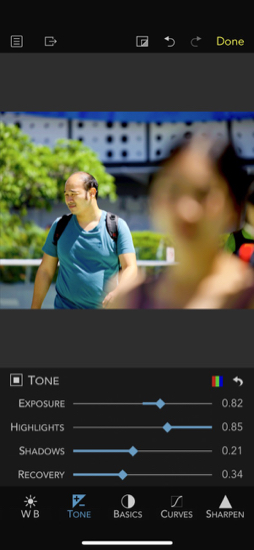
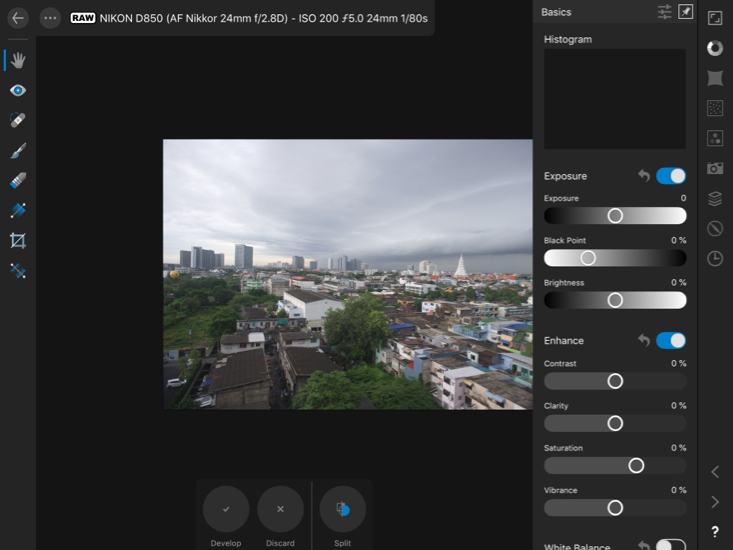
On the iPhone, the tools in RAW Power seem set out less logiclly, nor are they as comprehensive as those in Darkroom. Particularly missed is the selective color editing - like the feature in Photos on the Mac - which allows me to make accurate changes to color values in a photograph. Nevertheless, this does produce excellent output from the RAW files.
RAW Power on the iPhone X
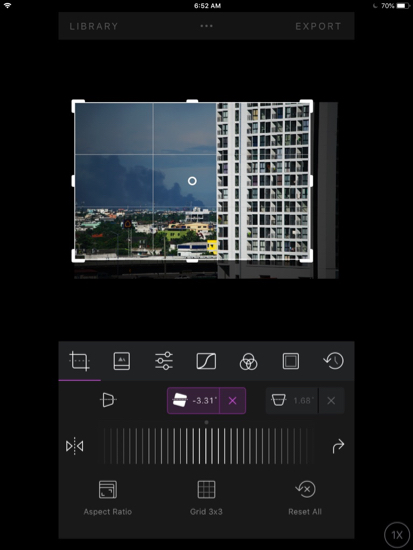
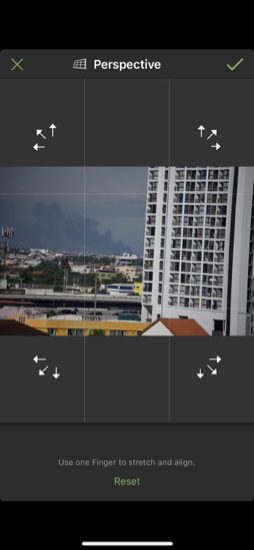
PerspectiveCrop, exposure, brightness, contrast, colour and sharpness are the basics that I usually consider applying to the images I keep. I also cull many. I work around a figure of about 10%: out of 100 images I take, 10 might be worth working with. Perspective is a fact that we have to live with, particularly when using smartphones with their small lenses (around 4mm focal length). Tall buildings, for example, seem to fall inwards. The 24mm wide angle lens I use will also produce this type of photograph: perspective can spoil a landscape. Other lenses may also have this effect.Some photographs may make good use of perspective, for example with a group of tall trees pointing inwards to a central point or a cityscape with tower blocks converging near the top. In some cases, however, the relationship of tall objects - particularly in a landscape - may be less desirable.
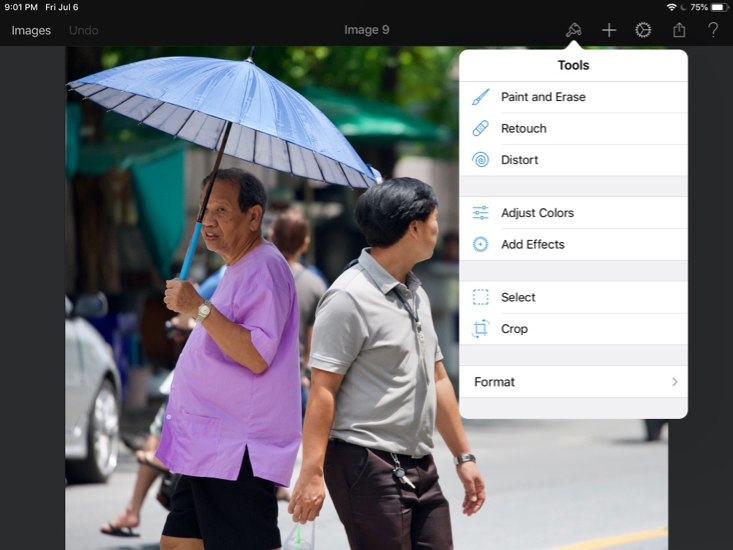
Tadaa on the iPhone X - Image from 100-400 lens on Nikon D850
There are disadvantages, particularly with image type and output size: this may only be suitable for web images or social networking. Tadaa will open an optimised image from the Library, so the app is not working with RAW. It may be best to complete editing in Darkroom or RAW Power (or another app preferred by the user), before moving on to the perspective adjustments.
Additional CommentsAs with Aperture on the Mac, or Lightroom, the use of workflow is to import, organise, adjust and export when needed. These apps (and their lighter equivalents on iOS) may provide enough for a basic edit. If I intend to use an image for printing or other displays, I would then consider the use of further applications. For many this would mean Adobe Photoshop, but there are several alternatives, including some for iOS devices.
Affinity Photo on iPad
Pixelmator on iPad
The use of workflows, either as standalone software (Aperture, Lightroom) or as a series of independent applications, will depend on the user's production tools and the needs, in terms of organising, editing and export. Even if independent apps are used, devising a plan of operations - a series of steps that are carried out with each import - may save time and prevent losses.
See also:
Graham K. Rogers teaches at the Faculty of Engineering, Mahidol University in Thailand. He wrote in the Bangkok Post, Database supplement on IT subjects. For the last seven years of Database he wrote a column on Apple and Macs. After 3 years writing a column in the Life supplement, he is now no longer associated with the Bangkok Post. He can be followed on Twitter (@extensions_th) |
|