MonoPhix: Straightforward Monochrome Editing app for the iPhone with Good Controls
AMITIAE - Wednesday 13 August 2014
|
MonoPhix: Straightforward Monochrome Editing app for the iPhone with Good Controls |
|
|
|
By Graham K. Rogers
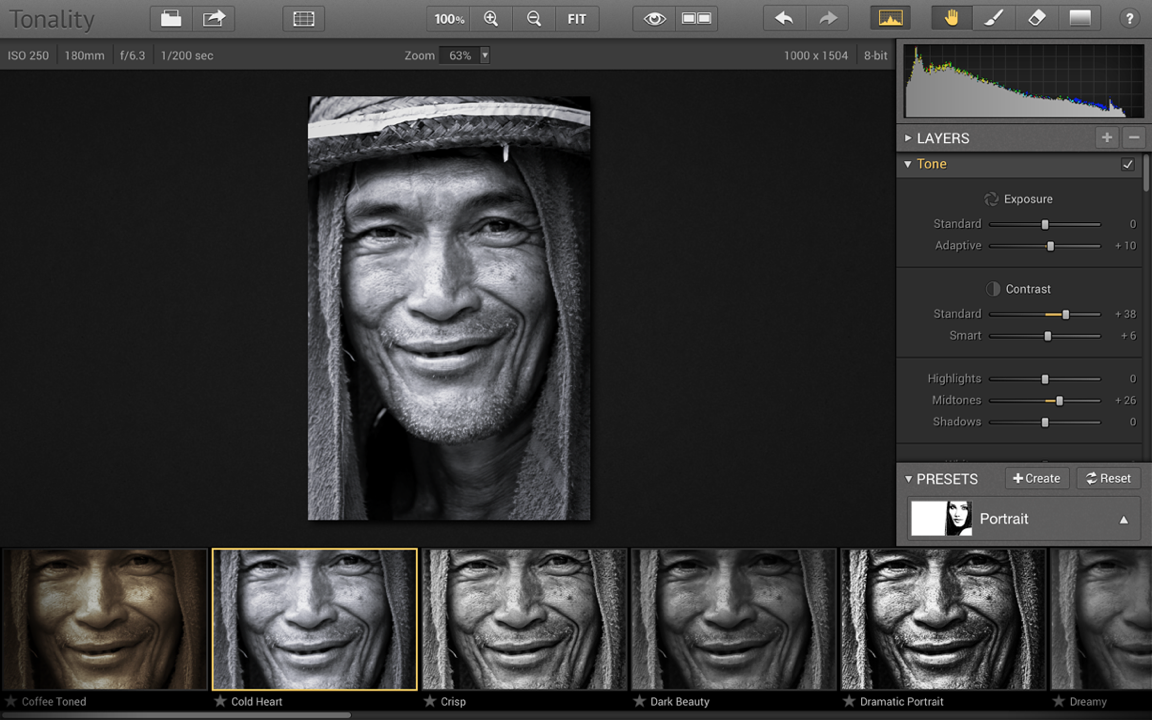
As colour film became cheaper, and later the digital camera made shooting hundreds of shots far less expensive, so many moved away from monochrome photography. With the Hasselblad and the editing features in Aperture on my Macs, I have begun to think more in terms of black and white and look for scenes which would be better presented that way. Earlier today (13 Aug) I reviewed Tonality a fairly strong application for editing images and producing output in black and white in the Bangkok Post and my own site. While I looked at the basic version in the review, I updated to the Pro version for my own uses.
I also use monochrome on the iPhone. There are a number of interesting apps such as 645 Pro Mk II from Michael Hardaker whose other apps emulate medium camera output. Also interesting is Noir Photo which has some fine adjusting tools for black and white images, and Camera Noir which has three basic black and white settings (Hi, Mid and Lo) so that the user can focus on the shot itself. My own comments on these apps, follow:
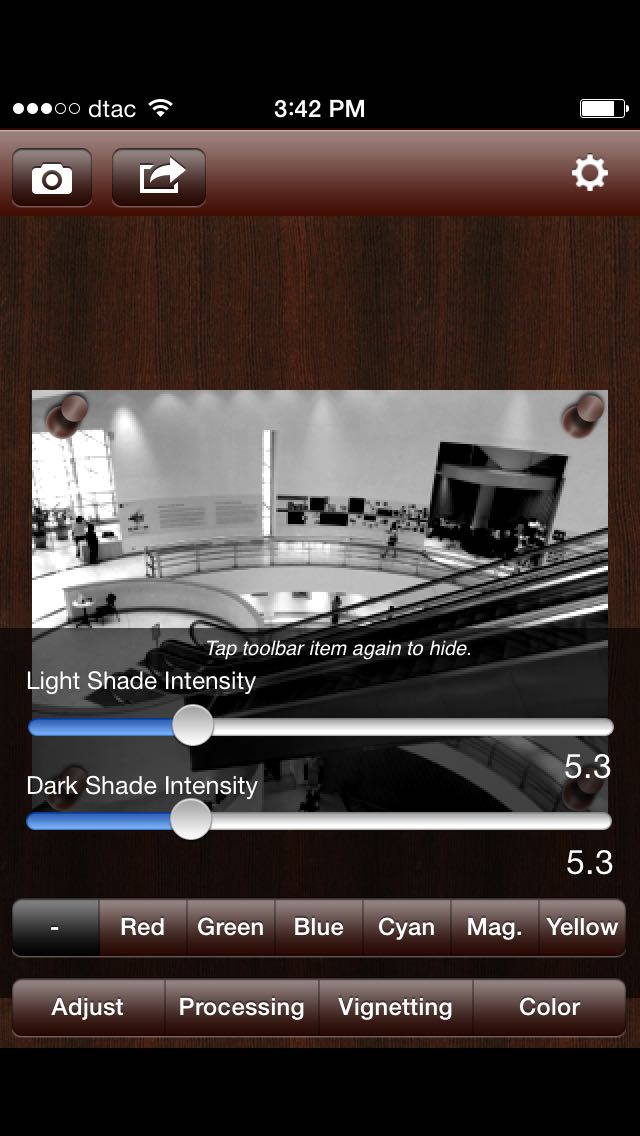
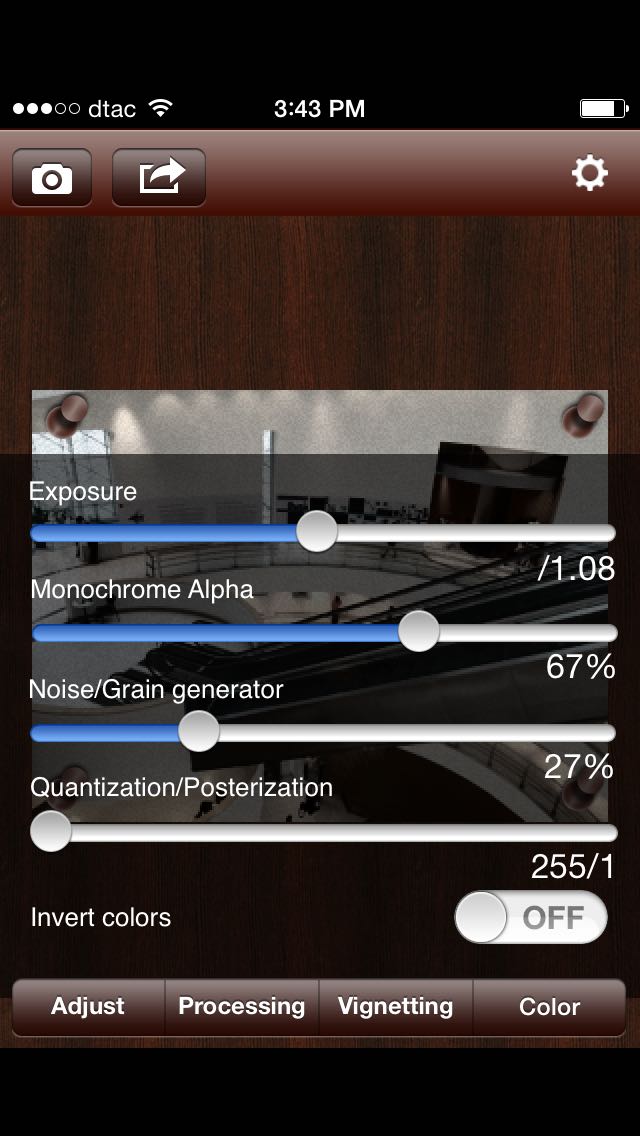
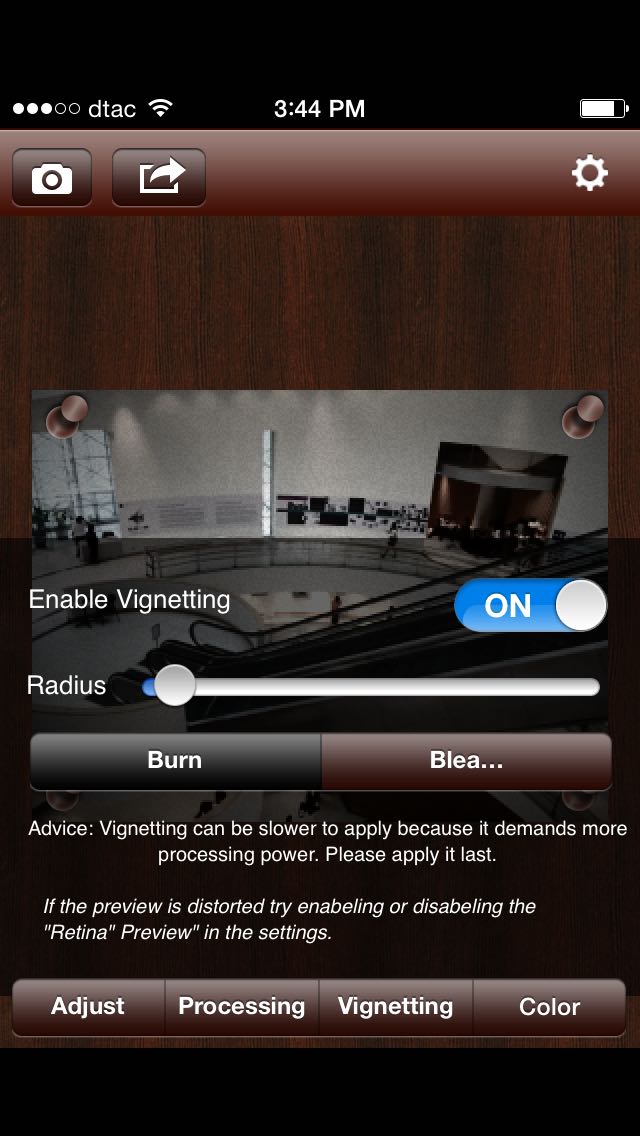
When the camera icon is pressed, there are two options: take a picture; use an image. Whichever is chosen the process - once an image is being edited in the app - is the same. Right at the bottom of the screen are four buttons: Adjust, Processing, Vignetting and Color. The editing starts in Adjust and 7 buttons just above the bottom four are available: All (indicated by a dash), Red, Green, Blue, Cyan, Mag. (Magenta) and Yellow. Usually apps will allow editing in RGB channels but this gives a wider range of possible adjustments. Each of the color selectors is controlled by 2 sliders (in a scale of 0 -20): Light Shade Intensity and Dark Shade Intensity. Processing has its own slider set:
There is also a button below the sliders to enable the user to Invert Colors.
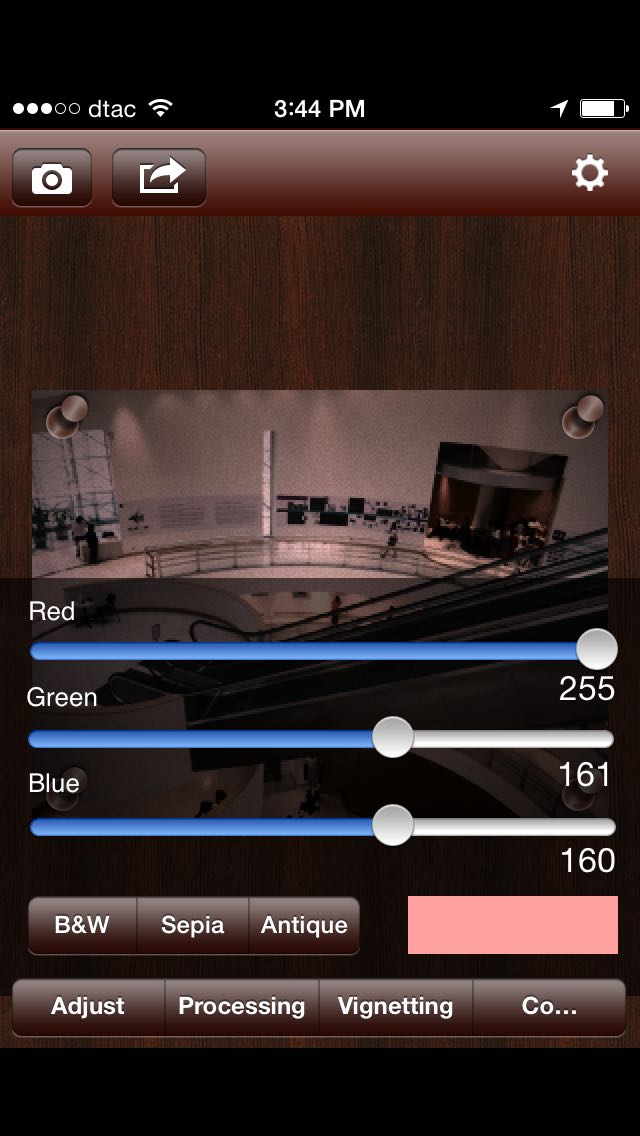
The final editing option is Color which is controlled by RGB sliders and three buttons for quick changes: B&W, Sepia, Antique. When one of these buttons is pressed, the sliders are adjusted to indicate the RGB settings. Alongside the buttons is a color panel which changes as the sliders are used to show the color that is currently being used for the image.
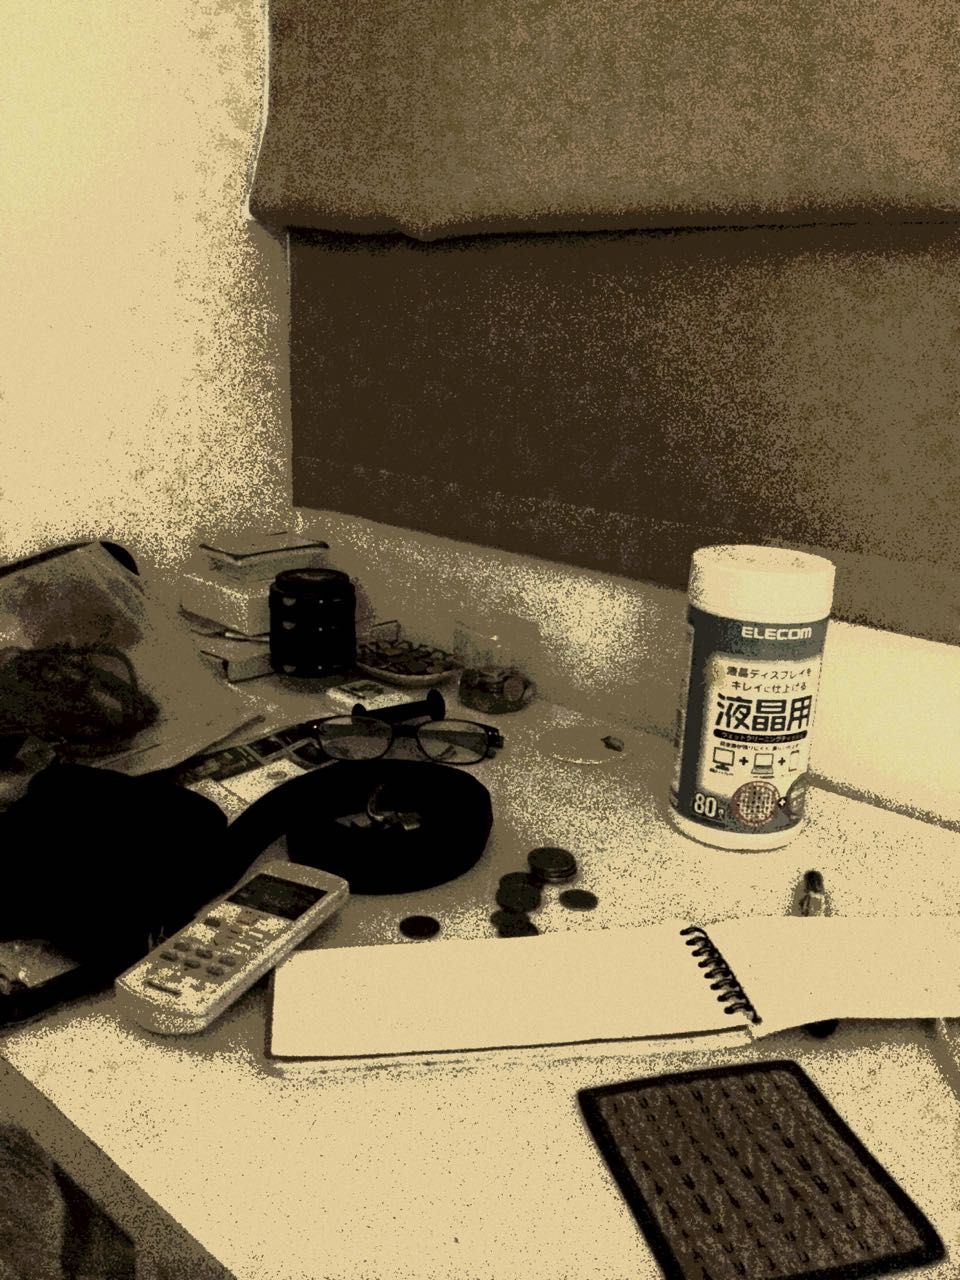
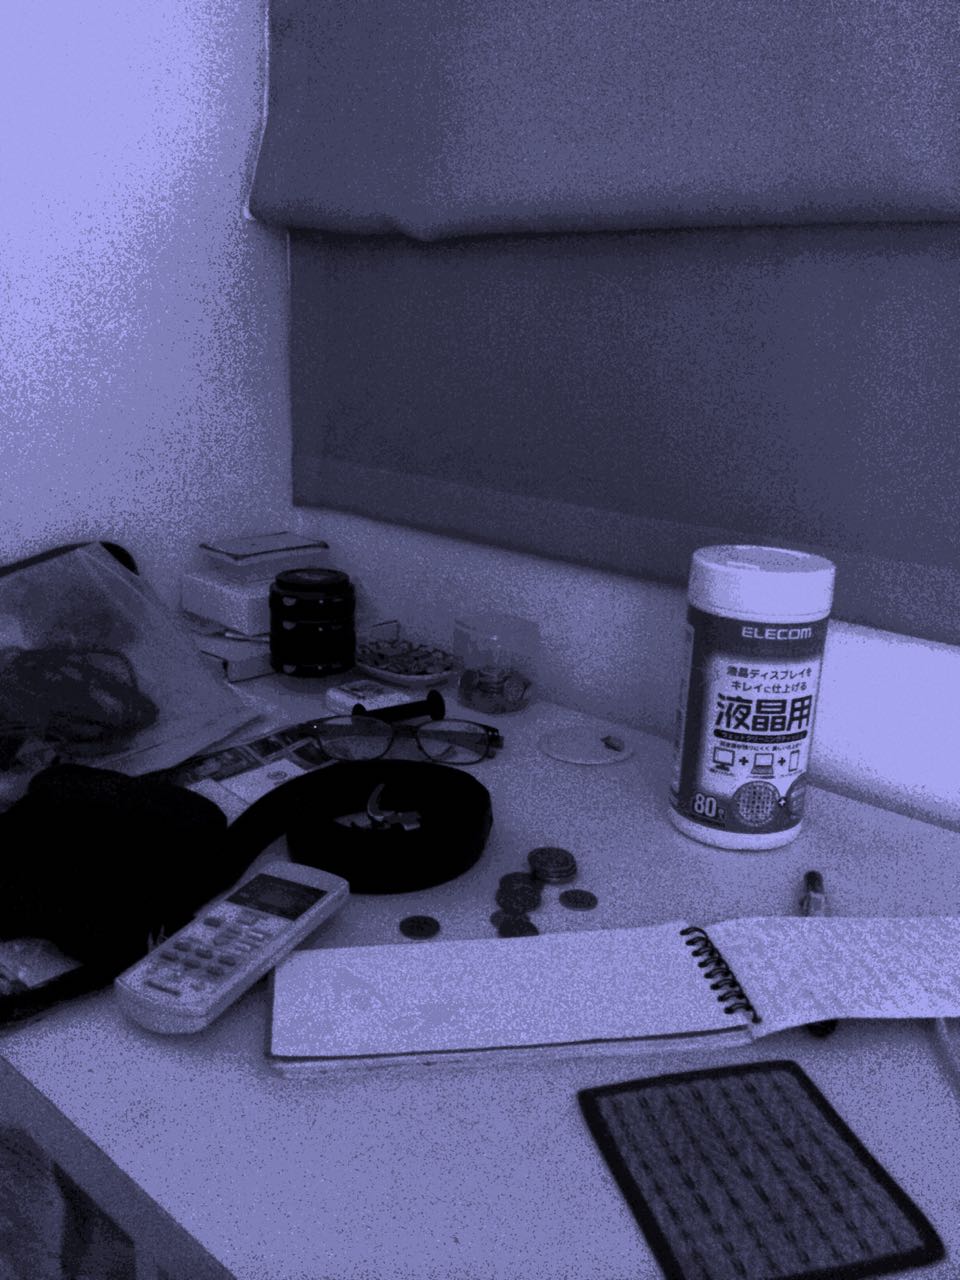
The Export button has two options: Save to Camera Roll; and Save to Muzy. As well as being the name of a town in France, this is a site for sharing images and blogging. I chose only to save the images to the iPhone Library. A photograph of 1.9 MB that I had taken with the iPhone camera a couple of months ago was saved as a sepia image with a size now of 1.7 MB, so the reduction was probably due to the removal of colour. An image I took with the iPhone camera via MonoPhix, adjusted then saved as an image with a single color (reducing red and green) was shown in the library as 2.5 MB (2448 x 3264), so little is being lost by using the app this way, although the original image is not retained.
The app is easy enough to use which will make it attractive to a number of those interested in the possibilities of monochrome output. There is a Lite app with the same name and a separate app for the iPad priced at $1.99, but I only tried the iPhone version for this review.
Graham K. Rogers teaches at the Faculty of Engineering, Mahidol University in Thailand where he is also Assistant Dean. He wrote in the Bangkok Post, Database supplement on IT subjects. For the last seven years of Database he wrote a column on Apple and Macs. He is now continuing that in the Bangkok Post supplement, Life. |
|

For further information, e-mail to
|

|