Some Preparations for the Update to OS X 10.10, Yosemite (Bangkok Post, Life)

AMITIAE - Wednesday 30 July 2014
|
Some Preparations for the Update to OS X 10.10, Yosemite (Bangkok Post, Life) |
|
|
|
By Graham K. Rogers

Mavericks on a MacBook Pro - Image by permission of Apple
Just because your Mac seems to be purring along, does not mean the installation is perfect. Preparation for an update is essential. For me, that includes backing up. I do this on a daily basis with Time Machine, but I also copy data directly to external disks: three at home, two at work. Some data is also backed up using cloud systems: this will become more widely used as time passes, with companies (including Apple) relying more on cloud solutions.
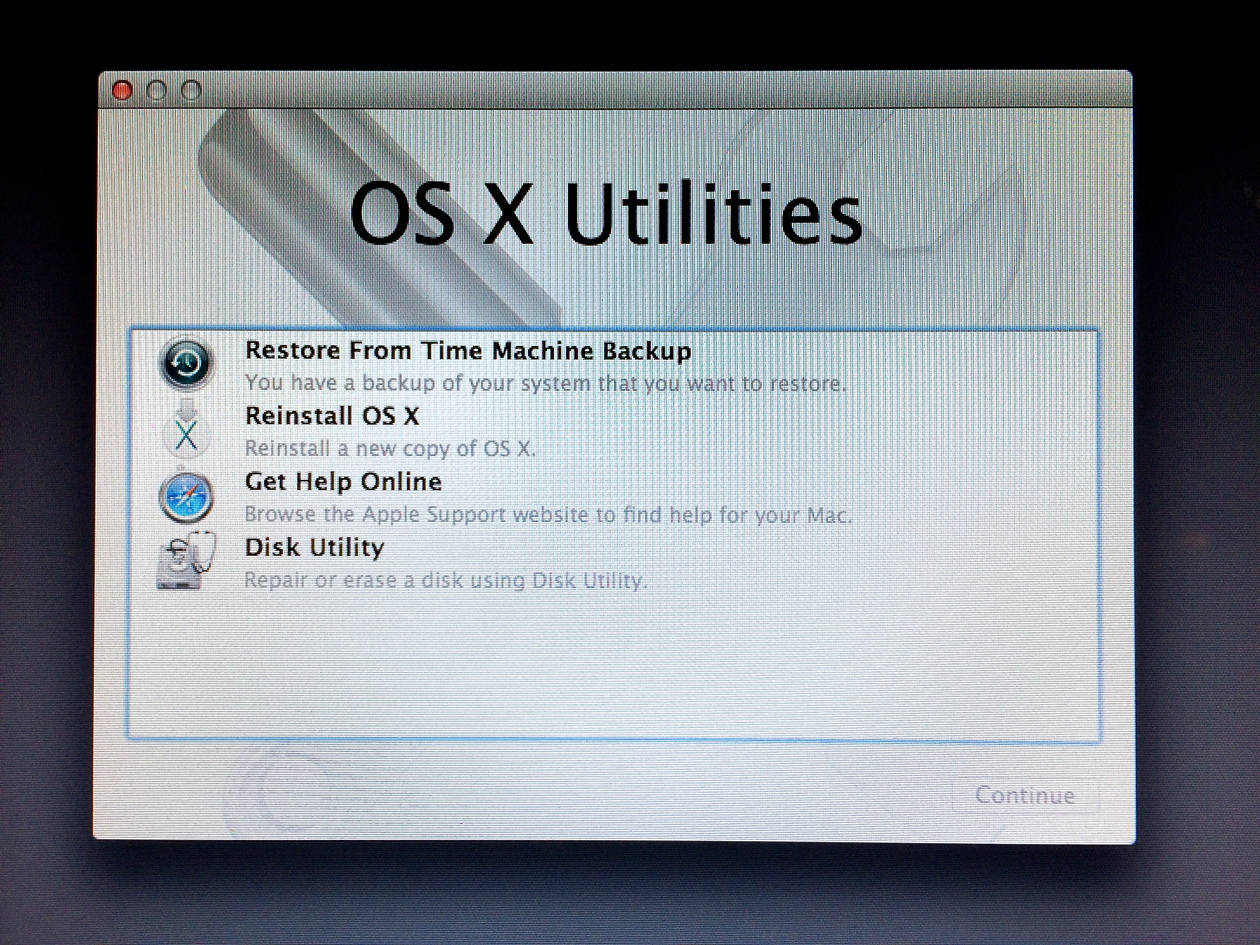
The other essential before an update is maintenance. I have met several users who fail to do this. They then wonder why they have problems (often out loud), usually blaming Apple for a faulty release of OS X. Maintenance used to require external media, or a second Mac connected using Thunderbolt (or Firewire). Since version 10.7 (Lion) a Mac has an additional Recovery partition with tools to help a user. To access this, restart the Mac, holding down the Command + R keys. I ran this recently on an older iMac. It took a minute or so for the grey Apple logo to appear, then a couple of minutes more with the spinning indicator. When done, the screen displays a menubar and a panel with 4 options:
To check the disk, I used the last item. The others are for more serious problems. [Unlike OS X on a Mac, there is no screenshot facility, so I used the iPhone camera and drew the blinds in my office.]
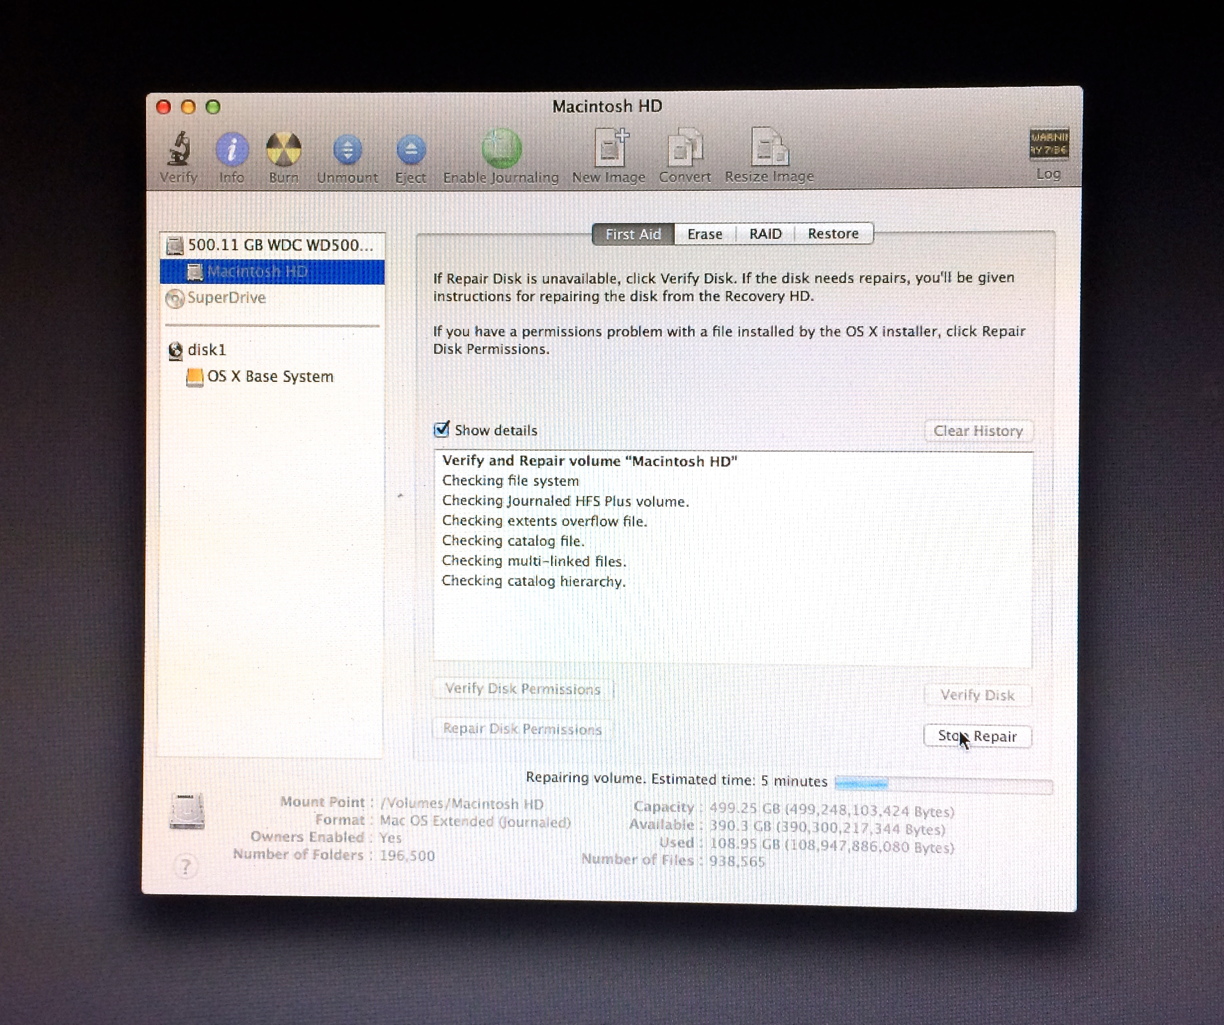
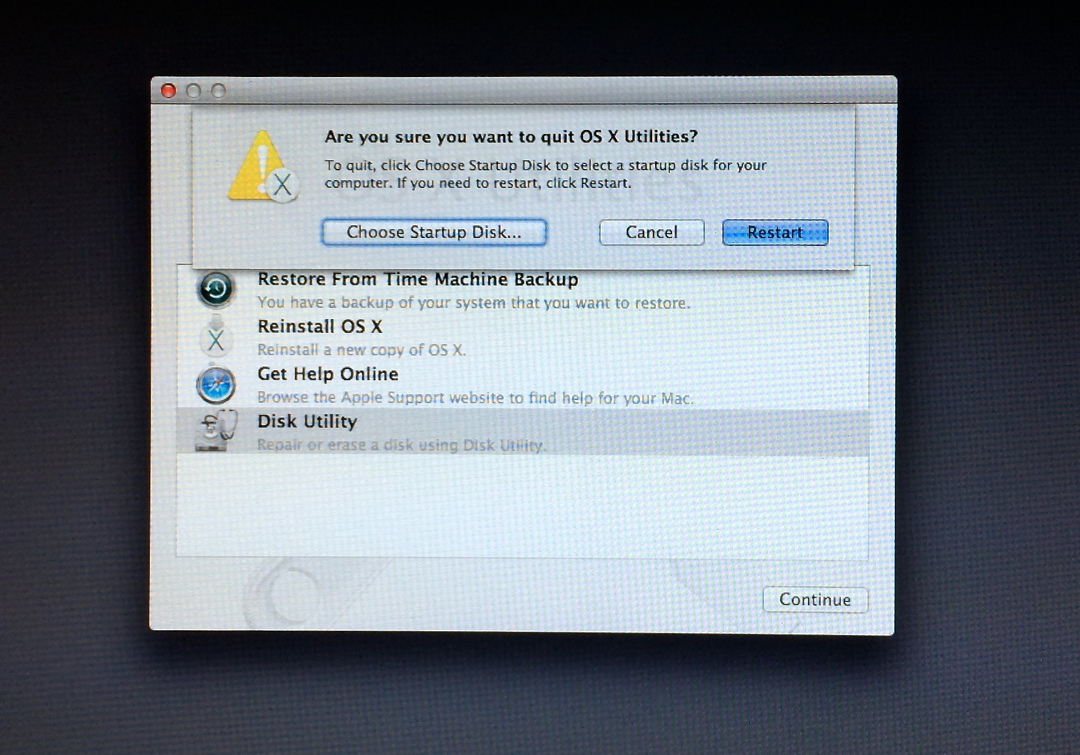
If there are problems with the repair, red text appears and Disk Utility will attempt to repair any problems. If these are serious, it warns that a stronger program is needed. My preference is for Disk Warrior: an application that has got me out of trouble many times. Some people balk at the cost ($99.95 - 3180 baht), but how much is your data worth? I would run this anyway, as the result is an optimised desktop, with things running much more smoothly. I do this every couple of months too. Some prefer Micromat's TechTool Pro (currently reduced from $99 to $25 - 796 baht). When Disk Utility has done its job, use the menu at the top to quit (or Command + Q). This returns us to the main panel. Unless other tools are needed, we can quit, again using the menu (or Command + Q). A confirmation panel appears. I normally just press Restart as I do not need to re-select a startup disk. The screen will go blank and the Mac should start up normally.
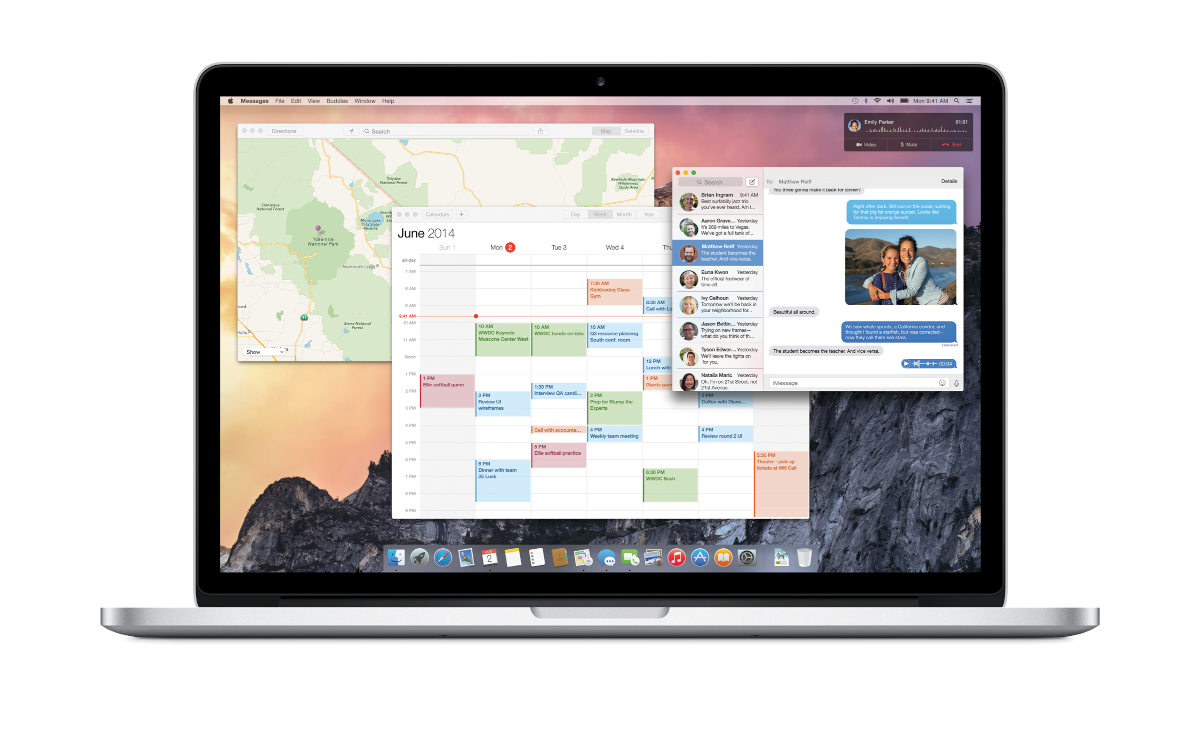
Yosemite on a MacBook Pro - Image by permission of Apple
See also:
Graham K. Rogers teaches at the Faculty of Engineering, Mahidol University in Thailand where he is also Assistant Dean. He wrote in the Bangkok Post, Database supplement on IT subjects. For the last seven years of Database he wrote a column on Apple and Macs. He is now continuing that in the Bangkok Post supplement, Life. |
|

For further information, e-mail to

|

|

 Disk space is also important. If there is less than 10% capacity free, the computer will show some problems anyway. An update to OS X also needs its own space, plus some breathing room.