Mavericks on External Media (2): Flash Drive and Hard disk - Completing the Installations (Updated with a new link)
AMITIAE - Thursday 8 May 2014
|
Mavericks on External Media (2): Flash Drive and Hard disk - Completing the Installations (Updated with a new link) |
|
|
|
By Graham K. Rogers
Comments on the External DriveThe external hard disk was treated as if it were a real computer when I started the 15" MacBook Pro with it, so updating OS X was accomplished easily via access to the Mac App Store.When the update was completed, the new installation on that Rescue disk was able to start the older 15" MacBook Pro with no problem, but I needed to make sure that it would also start the new 13" MacBook Pro with Retina display as that was released with a version of OS X created after the basic 10.9. A standard 10.9 disk would not start the 13" Mac.
Finishing the Flash Drive (1)In Safari, using the iCloud link I opened the three pages I had been using:
I did not need it, but I also opened Notes. The Terminal command I would use was there, synchronised from the entry I had made earlier in the day on the iMac. I inserted the flash drive and from one of the Safari pages copied the command - it is one line - into Terminal:
sudo /Applications/Install\ OS\ X\ Mavericks.app/Contents/Resources/createinstallmedia --volume /Volumes/Untitled --applicationpath /Applications/Install\ OS\ X\ Mavericks.app --nointeraction
sudo /Applications/Install\ OS\ X\ Mavericks.app/Contents/Resources/createinstallmedia --volume /Volumes/Rescue --applicationpath /Applications/Install\ OS\ X\ Mavericks.app --nointeraction When I pressed Enter, I was asked for the Admin password. I crossed my fingers. As predicted (Dan Frakes), the 0% . . . 10% . . . 20% appeared and I let it get on with "Copying installer files to disk. When all was done, I had the flash drive with the OS X installer on it. There was more to be done to make this run OS X.
I shut down the Mac, inserted the USB cable into the port and once more restarted with the Option key pressed down. This would recognise available disks and perhaps save some time if there was a problem with the disk. As before, four icons were shown and I selected the Rescue disk. I pressed the Enter key and the Mac started (albeit slowly), so I had one working rescue option.
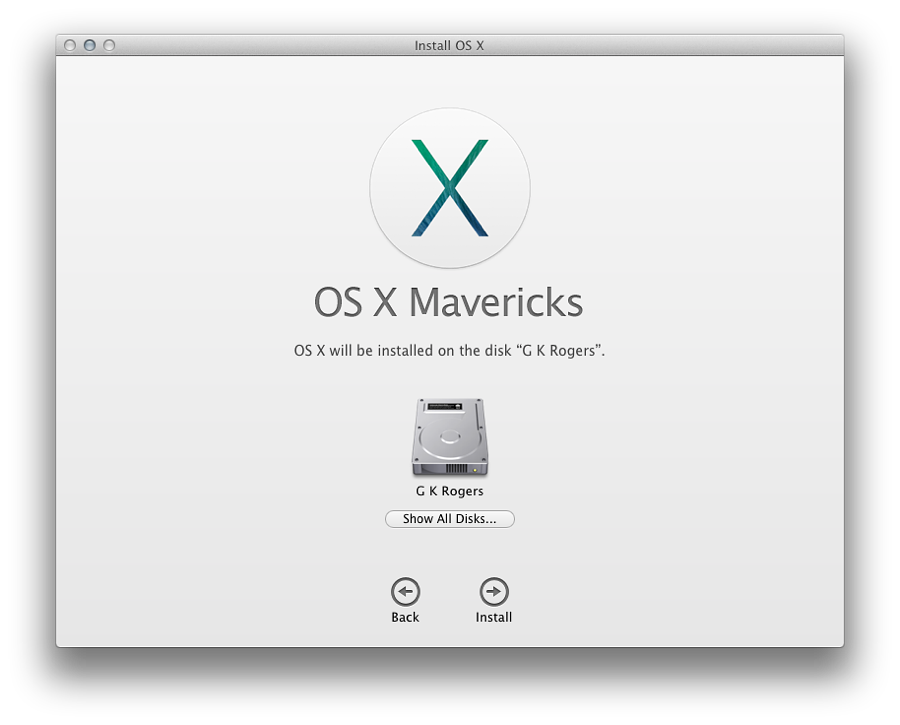
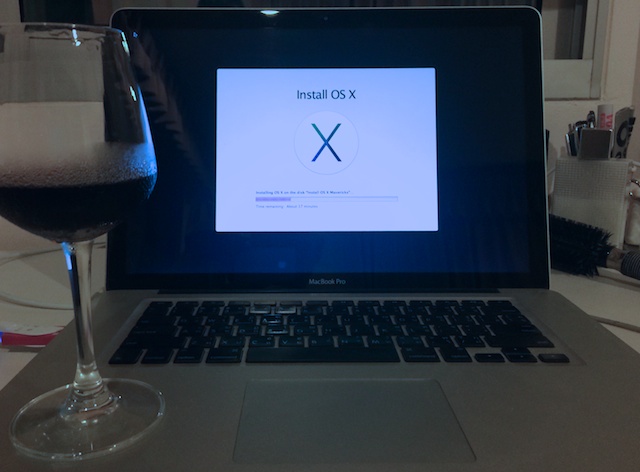
Finishing the Flash Drive (2)The flash drive was still a work in progress. I had been unable to update from 10.8 to 10.9 on that drive owing to lack of space. I had installed the updater files onto the drive, but to make it work as a startup disk, I still had to install the system. I was reluctant to do this using the 13" MacBook Pro, even though I had a full back up. I decided that the 15" MacBook Pro should play a part.I started the older Mac as normal then inserted the drive. When it appeared on the desktop, I opened it first in the Finder and clicked on the Installer file. The Installation setup panel appeared and I clicked Continue.
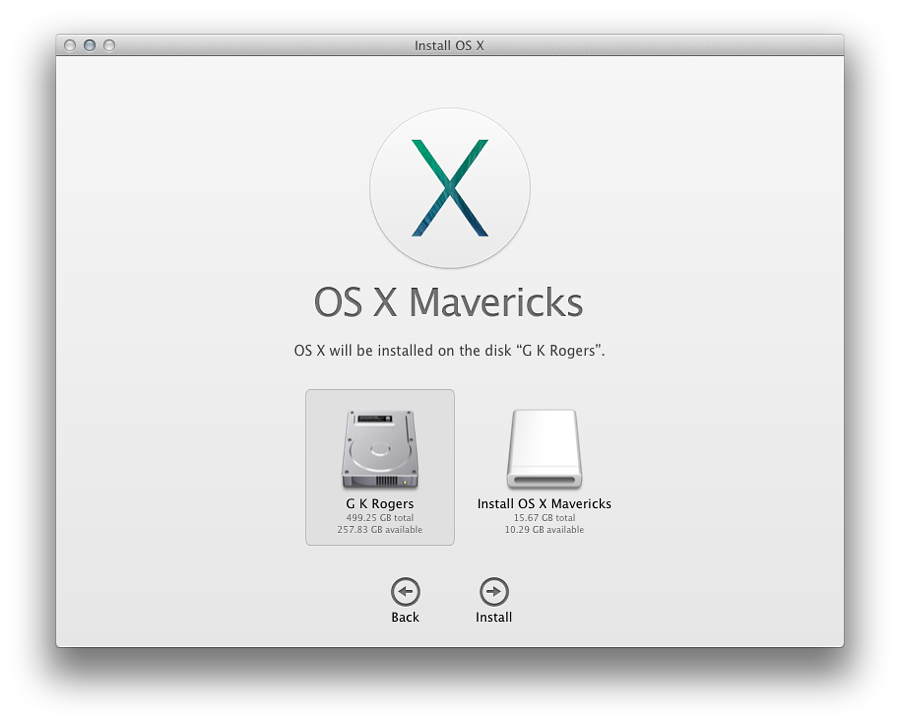
Eventually, the screen changed its shade of grey and the Welcome screen appeared: select country, keyboard, wifi (enter password), don't transfer information, don't sign in with Apple ID (confirm), Terms & Conditions (confirm), set up account, don't register Mac (confirm) . . . Setting up. Finally the desktop appeared and I transferred a copy of Disk Warrior to the flash drive. I also found that the Install OS X Mavericks file remained intact. Unlike installing on a Mac, it was not deleted when the process was done. That will be useful. I shut down the computer and removed the drive. This is meant to be an emergency solution - something I can throw in my back-pack and carry around with no real weight - so the slowness (while a drawback) is to acceptable for the medium. The final check was to see if the OS X on the flash drive would start the 13" MacBook Pro. With the drive in the USB port, I started up with Option key pressed. The expected 4 partitions were shown: Mac disk, the USB drive; and their two recovery partitions. As with the external disk, I selected the USB flash disk and pressed Enter. It took a few minutes, but the disk worked. I have two more rescue options.
See also:Mavericks on External Media (1): Flash Drive and Hard disk - Pitfalls and Partial SuccessJust after I put this online, Dan Frakes put out another article on MacWorld about installing OS X on external media, with specific reference to Macs such as my 13" MacBook Pro that was released after Mavericks. It is a complex process, however.
Graham K. Rogers teaches at the Faculty of Engineering, Mahidol University in Thailand where he is also Assistant Dean. He wrote in the Bangkok Post, Database supplement on IT subjects. For the last seven years of Database he wrote a column on Apple and Macs. He is now continuing that in the Bangkok Post supplement, Life. |
|

For further information, e-mail to

|

|
