More Than One Way to Skin a Cat: Monochrome Apps for iOS - The Monochromist and B & W Lab (Amended - links to apps)
AMITIAE - Tuesday 26 February 2013
|
More Than One Way to Skin a Cat: Monochrome Apps for iOS - The Monochromist and B & W Lab (Amended - links to apps) |
|
|
|
By Graham K. Rogers
The Monochromist With a name sounding like a 19th Century occupation (e.g. Numismatist), one might expect that the output from The Monochromist would be produced by some older style tools and filters. Not a bit of it: this has some interesting surprises that allow a user to fine-tune the output.
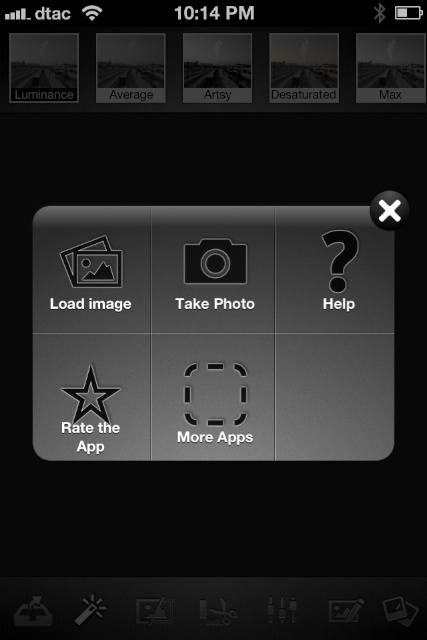
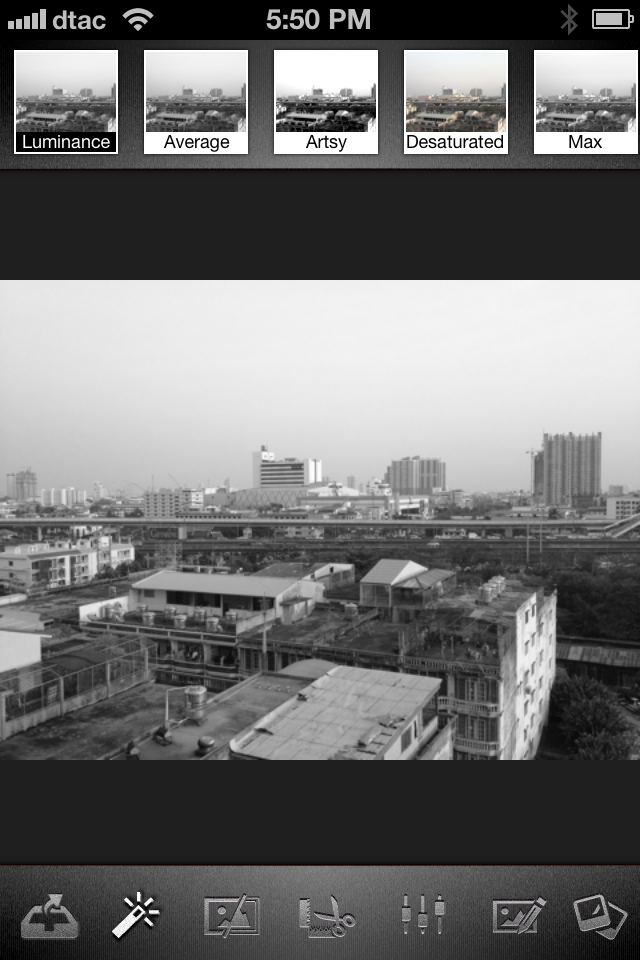
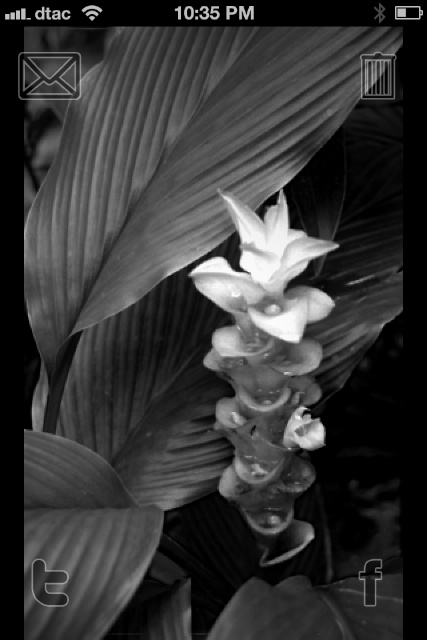
When first opened, the app has a information screen that serves dual functions: to access input (camera or library) and to link to the developer for help, ratings and more apps. The screen does not appear again unless the app is reset. At the top of the screen, individual effects are displayed, depending on the selection at the bottom, where the main controls are. From left to right these include a File icon for input and exports; a Filters icon that reveals several (18) monochrome filters; a frames icon (10 + "None"); and Formats, with several image sizes. As well as the monochrome filters there are two vintage style color ones: Desaturated and 70's. Formats available are Original, Square, Golden Ratio, 16:9, 3 x 2, and 4 x 3. When using either filters, frames or formats instead of tapping on each of the thumbnails at the top of the screen, the main image may be scrolled left or right and the next (or previous) filter is applied.
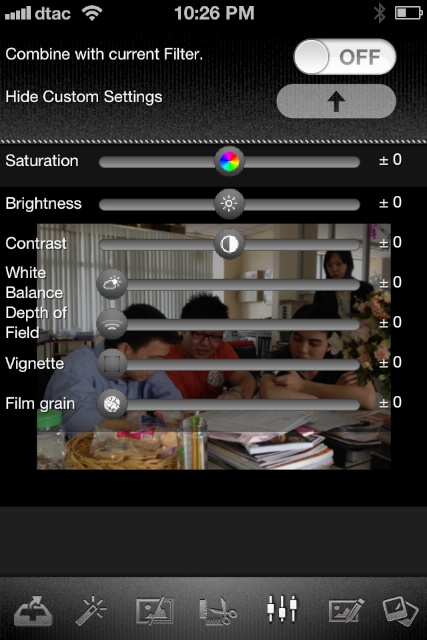
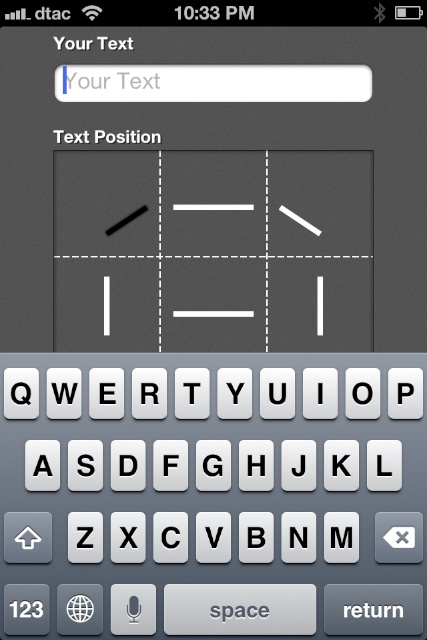
The sixth control has two features not normally used together: Autolight, and Text. One icon turns on the autolight function, with another alongside turning it off. Likewise the text buttons allow text to be added to the image or immediately removed. Pressing the add text button displays a text box along with the keyboard. Below is a clever box system for positioning the text in any one of 9 ways. Text may be black or white.
Using the app on the iPad was almost the same as on the iPhone apart from the larger screen and the access to the Photo Album. The app worked in either landscape or portrait mode and because of the screen size, was less fiddly for those of us with larger fingers. Exporting was in the same small to large options, but size depends on the original image. Although I prefer the iPhone for camera input, the use of the Photo album (especially if synchronised using PhotoStream) means that the iPad version is almost as flexible.
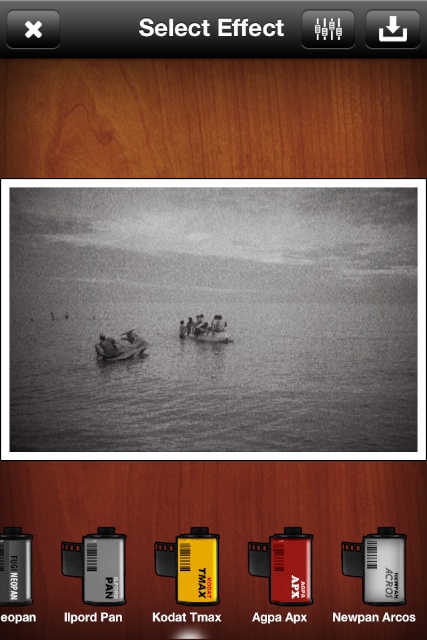
B & W Lab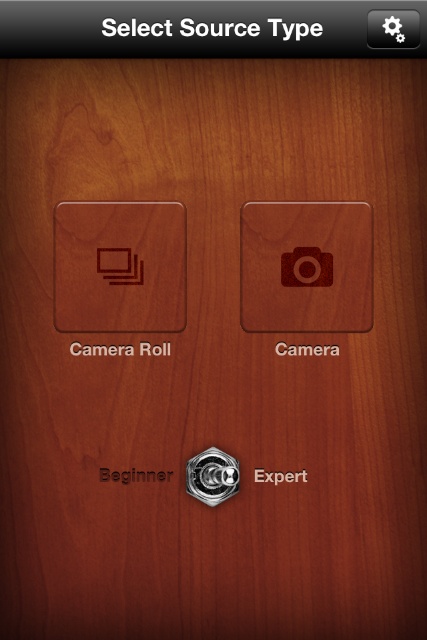 The opening screen for B&W Lab is fairly simple with three basic controls, the first are for bringing in an image: Album or camera. The third, however - a switch to select either Beginner or Expert - allows the app to work in two different ways.
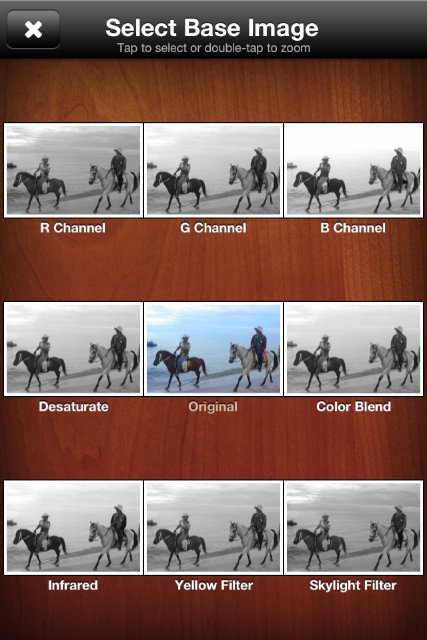
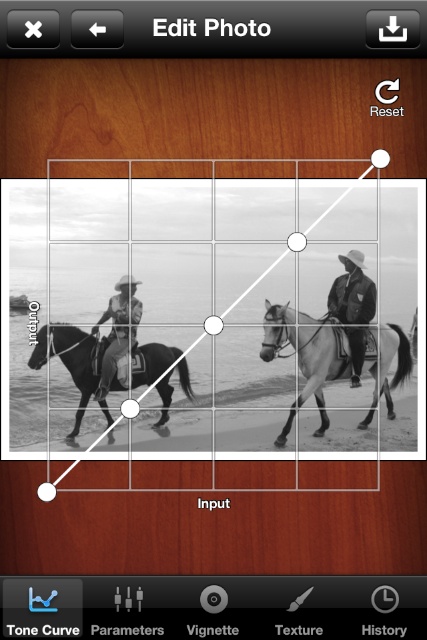
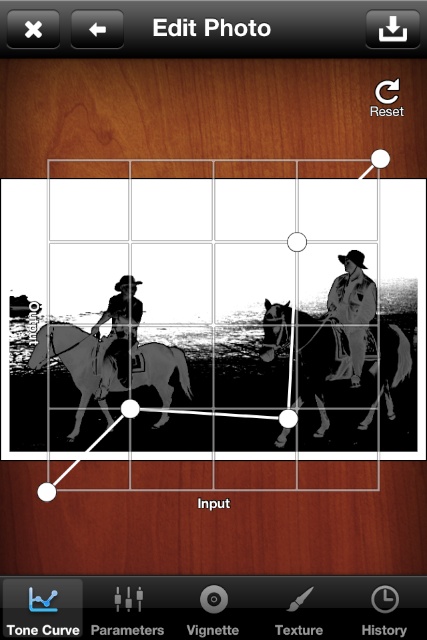
I started with the Expert settings, not through any misplaced sense of pride, but to see how hard this might be. Both the Beginner and Expert access the camera and the camera roll in identical ways. When an image is selected, the editing methods differ. With the Expert settings, when I brought in an image from the camera roll, a tiny thumbnail was displayed center screen and a display of 8 alternative versions spread out from that center image. When one of the versions is selected, the photo is displayed by itself on an Edit screen. An X top left cancels the entire process, an arrow alongside takes us back to the 8-version selection screen and a File icon at top right saves the image. At the bottom of the screen are several controls. The first of these is a Tone Curve, which allows some fine adjustments to be made quite quickly. Fortunately there is a Reset control.
A History button reveals images that have previously been edited, but was not available when I first used the app. After a few days there were a number of photographs populating the History library. By pressing a specific image, the settings will be applied to the current image. In other applications this may be called Lift & Stamp.
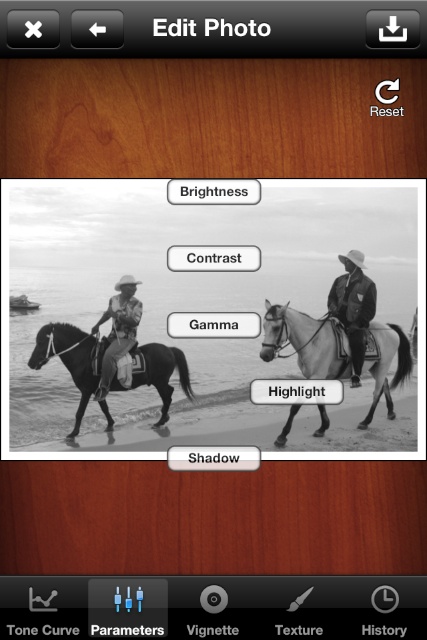
At the top of the screen towards the right side is an icon that indicates adjustments. When this is selected, the same features as for the Expert settings are available: Tone Curve, Parameters, Vignette, Texture and History.
This app worked in exactly the same way on the iPad as it had on the iPhone with the usual exception of the Photo Album selector. The controls were the same if used in Basic or Expert mode, although this app would only work on the iPad in portrait mode.
CommentsBoth apps produce acceptable output in terms of size and quality with some interesting effects possible. The approach taken by each of these is totally different but both have an unusual level of sophistication with the sliders and levels.With a couple of the test images I used from the Photo Album in The Monochromist, I did manage to crash the app when saving the edited image. It did not crash at all on the iPad. It also crashed when editing an image taken with the camera. Neither of these apps saved an original image when the camera was used for input, although with The Monochromist I was able to go back to the editing screen and remove all effects. For those who want to experiment with black and white output these (and Noir Photo that I had looked at earlier) are among some of the many apps that are available for this type of image manipulation on iOS devices.

Graham K. Rogers teaches at the Faculty of Engineering, Mahidol University in Thailand. He wrote in the Bangkok Post, Database supplement on IT subjects. For the last seven years of Database he wrote a column on Apple and Macs. |
|

For further information, e-mail to
|

|